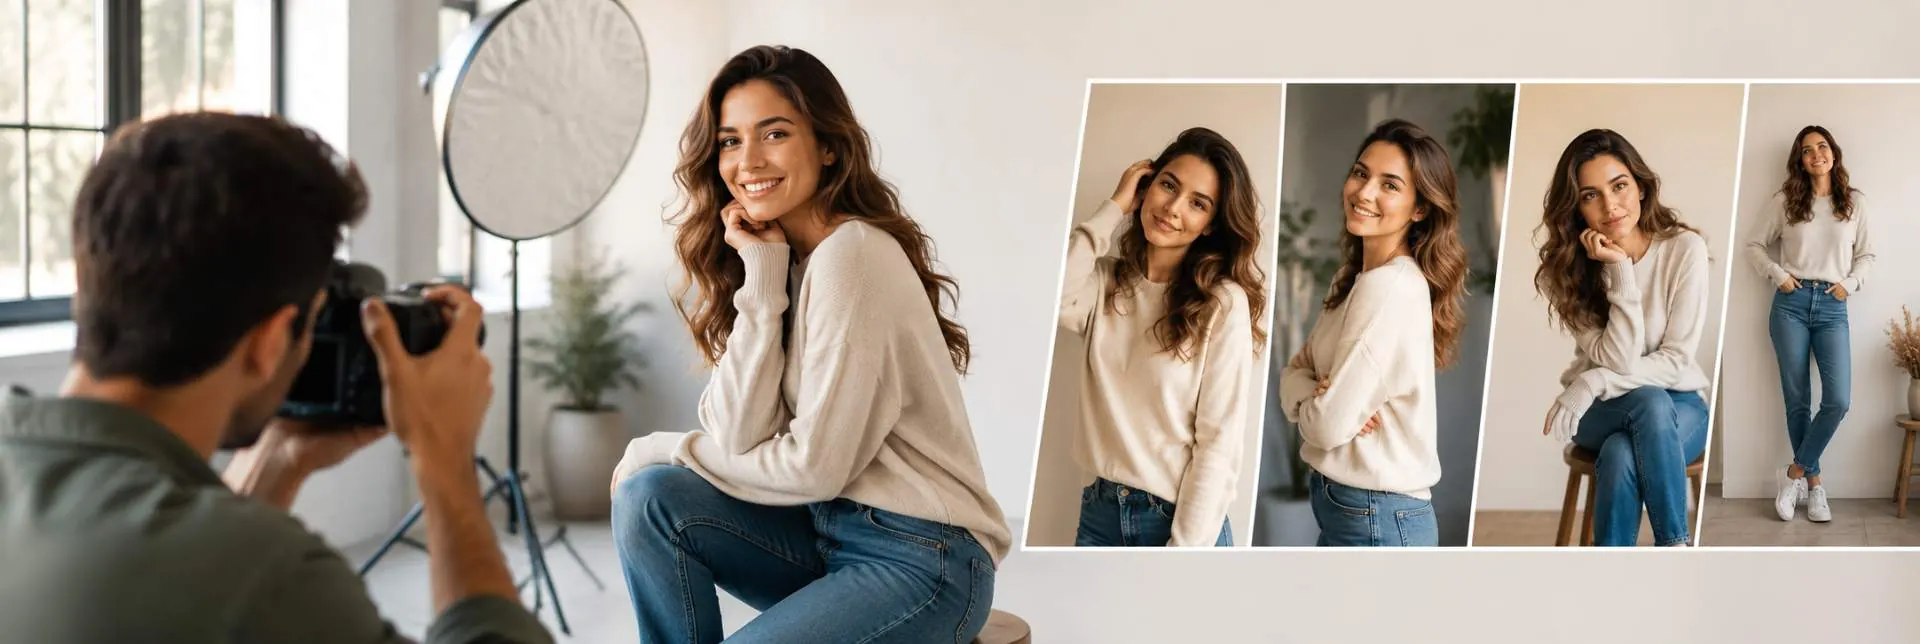
Someone points a camera at you and suddenly you forget how to stand. Your hands feel enormous. Your smile goes wonky. You end up with that stiff, slightly startled look we all know too well — and then you spend the next ten minutes asking everyone to delete it.
Here is the good news: posing well is not a gift you are born with. It is a small set of tricks anyone can learn in an afternoon. The models and influencers who always look great are not naturally more photogenic than you. They simply know a handful of things you do not — yet. This guide covers all of it in plain English: what to do with your hands, how to stand, how to smile so it looks real, and how to handle every situation you will actually face, from selfies and couples to weddings, graduations and passport photos.
Key Takeaways
The whole guide in six lines, if you only read one bit:
Angle your body. Turn slightly to one side rather than facing the camera straight on. A 45-degree turn is the sweet spot.
Shift your weight. Put most of your weight on your back foot. It instantly looks more relaxed than standing square.
Give your hands a job. Pockets, hips, hair, a drink or a bag — anything beats letting them hang stiffly.
Push your chin forward and slightly down. This sharpens your jawline and removes a double chin.
Find soft light. Face a window or step into open shade. Avoid harsh midday sun.
Move, then shoot. A real smile comes from a real moment, so laugh, walk or chat just before the photo is taken.
Why a Good Pose Makes Such a Difference
A photo is a flat, frozen slice of a three-dimensional you. The camera cannot see your charm, your energy or the way you move through a room. It catches one split second and nothing more. A good pose simply helps that split second show the best version of you.
Think about why you freeze up in the first place. Almost always it comes down to three things: you go stiff, you hold your breath, and you have no idea what to do with your arms. Nearly every tip in this guide fixes one of those three problems — loosening up, breathing, and giving your body something to do.
The mindset shift that helps most: stop trying to look perfect and start trying to look relaxed. Relaxed beats perfect in almost every photo ever taken.
Why do I look different in photos than in the mirror?
You look different in photos because a mirror shows a flipped, moving, three-dimensional version of you, while a photo freezes a single flat moment — often from an unflattering angle, in harsh light, and through a lens that can distort features. Neither one is the "real" you; they are simply different views. Better angles, softer light and a few posing habits close most of that gap.
This matters because so many people decide they are "not photogenic" based on a few bad snaps. You are not unphotogenic. You have just been photographed badly — usually from below, in poor light, while standing rigidly. Fix those three things and you will be amazed at the difference.
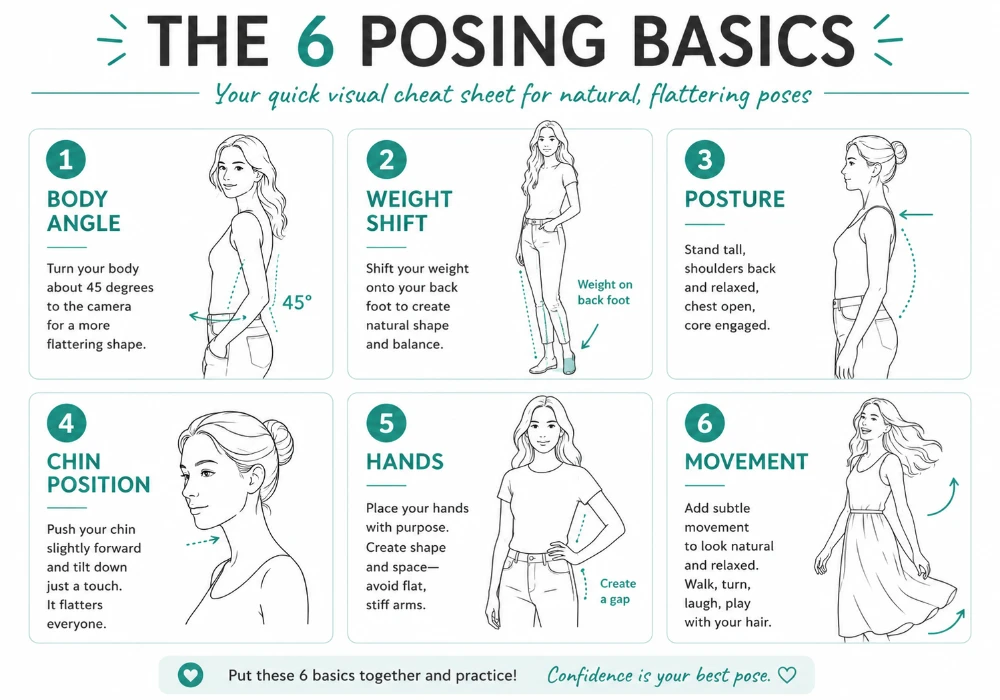
The 6 Posing Basics That Work Every Time
Master these six and you will look better in roughly nine out of ten photos. They apply whether you are at a wedding, on a beach, or grabbing a quick snap in the kitchen. Everything else in this guide builds on them.
1. Turn your body to the side
Facing the camera dead-on makes almost everyone look wider and flatter. Instead, turn your shoulders and hips about 45 degrees away from the camera, then turn your head back towards the lens. This creates shape and depth and is the single most useful trick in the whole guide.
Quick test: point your belly button at a spot just to the side of the photographer, not at the camera itself.
2. Shift your weight onto your back foot
Standing with your weight even on both feet looks rigid, like a passport photo. Pop one foot slightly forward and lean back onto the other. Your hips tilt naturally, your posture softens, and the whole pose reads as a real person standing comfortably rather than someone bracing for impact.
3. Sort out your posture
Roll your shoulders back and down, lengthen your neck, and imagine a string gently pulling you up from the crown of your head. Tense, hunched shoulders make you look stressed and shorten your neck. Good posture does the opposite — it reads as calm, confident and taller.
4. Push your chin out and down
This one feels strange but works wonders. Slightly extend your chin forward, then tip it down a touch. It tightens the skin under your jaw and removes the dreaded double chin. Photographers sometimes call it "turtling." It feels odd in the moment, but it looks great in the photo. Practise it once in a mirror and you will own it forever.
5. Give your hands something to do
Idle hands are the number-one cause of awkward photos. The fix is to give them a small job:
Pockets — but leave the thumbs poking out so it looks casual, not stuffed.
Hips — a hand on your hip creates a flattering gap between your arm and body.
Hair or face — a gentle touch to your hair or chin looks soft and natural.
Hold a prop — a coffee cup, a bag, sunglasses, a drink. Anything to hold takes the pressure off.
Whatever you choose, leave a little gap between your arms and your torso. Arms pressed flat to your sides widen your silhouette and make the pose look tense.
6. Add a little movement
Holding a pose too long makes it freeze up and look fake. The trick is to keep moving gently right up to the moment the shutter clicks. Walk slowly towards the camera, sway your hips, flick your hair, or turn your head from one side to the other. Ask whoever is shooting to take a burst of photos so you can pick the best frame.
Your Face: How to Smile and Where to Look
Even with a great body pose, the face is where photos are won or lost. A forced grin can sink an otherwise lovely picture, and a blank stare makes you look bored. Here is how to keep it real.
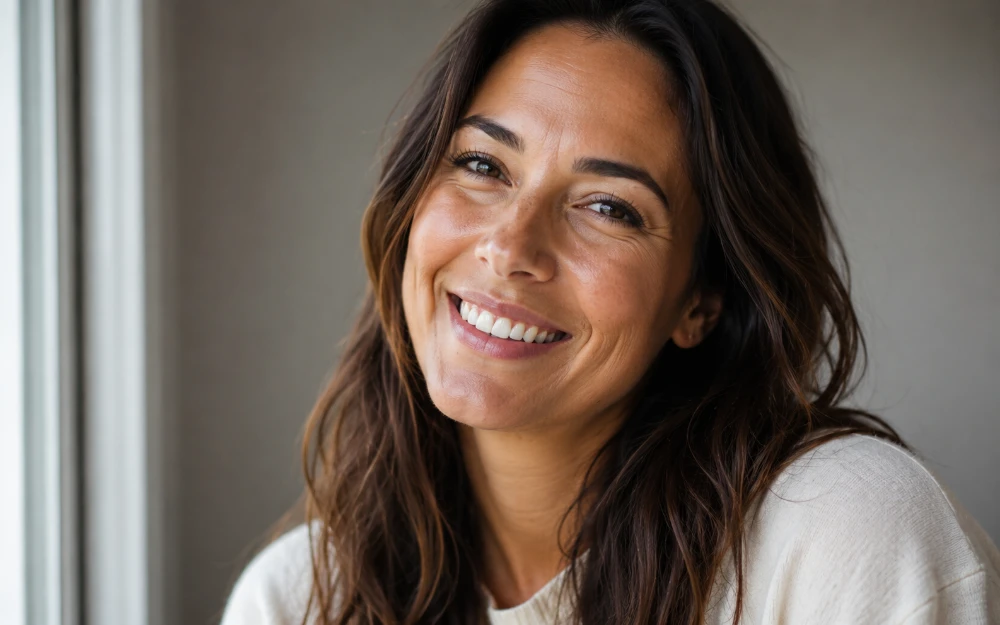
How do you smile naturally in photos?
To smile naturally in a photo, smile with your eyes, not just your mouth. Think of something funny or someone you love just before the shutter clicks, take a slow breath, and let the smile grow rather than snapping it on. A genuine smile crinkles the eyes slightly — a posed one only moves the lips. If your face feels stuck, laughing for a second resets it instantly.
Try the "squinch." This is a tiny squint — you lift your lower eyelids just a little, as if smiling with your eyes. It makes you look engaged and confident instead of wide-eyed and startled. It is the secret behind almost every great portrait.
The teeth question. Showing teeth or not is entirely up to you — both look great. If you go teeth-out, relax your jaw so your mouth is not stretched tight. If you go closed-mouth, keep it soft rather than pursed, or it can drift into a grimace.
How do you look good in photos without smiling?
A serious or neutral expression can look striking, but the trick is to keep it soft, not stern. Relax your forehead and jaw, part your lips a fraction rather than clamping them shut, and keep that gentle squinch in your eyes. A completely blank face reads as grumpy; a relaxed, slightly engaged one reads as cool and composed.
Where should you look?
Looking straight down the lens creates a strong, direct photo — ideal for portraits and headshots. Looking just off to the side or into the distance feels more relaxed and candid. For a classic flattering result, drop your gaze for a second and then look back up at the camera right as the photo is taken. It gives your eyes a fresh, open quality.
Reset your face between shots
Holding any expression too long makes it stiffen into the "zoned-out" look. Between photos, drop the smile completely, shake out your shoulders, take a breath, then bring the expression back fresh. It works every time, and it is exactly what professionals do during a shoot.
Angles, Light and Distance: The Hidden Helpers
Posing is only half the picture. Where the camera sits and where the light falls matter just as much — and both are easy to control once you know what to look for. These are the details that separate a snapshot from a photo you actually want to keep.
Camera height changes everything
A camera held slightly above eye level is the most flattering angle for almost everyone. It defines the jaw, opens the eyes and slims the face. A camera held low and pointing up does the opposite — it emphasises chins and nostrils, which is rarely a good look. So whether it is a group photo or a selfie, lift the camera a touch and angle it down a little.
Find the light
Soft, even light is your best friend. Face a window indoors, or step into open shade outdoors. Harsh midday sun creates hard shadows and makes everyone squint. The hour after sunrise and the hour before sunset — often called the golden hour — gives a warm, gentle glow that flatters skin beautifully.
Watch the direction. Avoid the sun directly behind the photographer, as it makes you squint, and avoid it directly behind you, as it turns you into a silhouette. Light coming gently from the side or at a slight angle is the most flattering of all.
Mind the distance
Phone cameras distort faces when held too close, making noses look larger and faces rounder. For portraits, ask whoever is shooting to step back a little and zoom in slightly instead. The result is far more natural. This single change fixes a surprising number of "bad" photos.
Once you have a portrait you genuinely love, it is worth thinking about how big you might want to print it later, because that affects how close the camera should be and how steady the shot needs to be. Our UK photo sizes guide explains which resolutions suit which print sizes, so you can shoot with the final result in mind rather than discovering the limit afterwards.
How to Pose in Every Situation
The basics stay the same, but each type of photo has its own small tricks. Here is how to handle the situations you will actually meet.
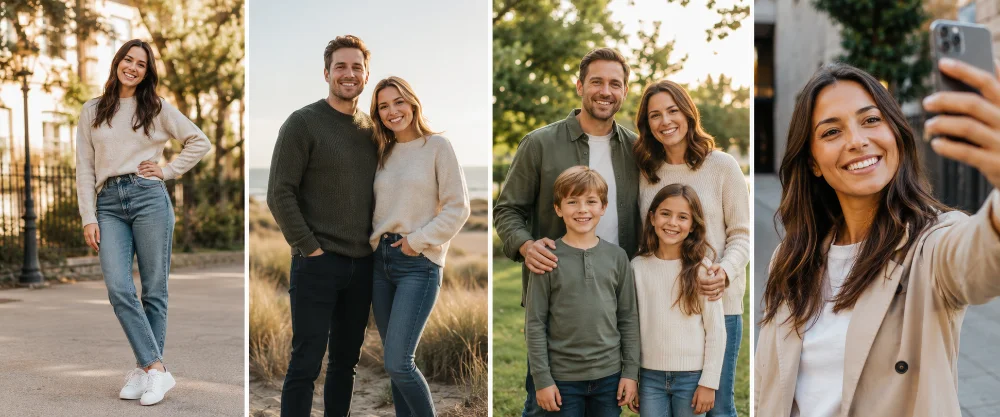
How to pose for a selfie
Selfies have their own rules because you control the camera. Hold the phone slightly above your eye line and tilt it down a little — this is the most flattering angle and instantly sharpens your jaw. Turn your head a fraction to one side rather than facing straight on, and extend your neck forward slightly.
Light on your face: turn towards a window or the brightest part of the sky.
Arm out and up: a higher angle is always kinder than one shot from your lap.
Take a few: nobody nails it first time, so shoot several and pick the best.
How to pose for a mirror selfie
Mirror selfies are an outfit-and-wardrobe favourite, and a few tweaks lift them above the average. Stand at a slight angle to the mirror rather than square-on, pop one hip out, and keep the phone roughly at chest height so it does not cover your face. Hold the phone with a relaxed grip — a stiff straight arm looks awkward.
Clean the mirror first: smudges show up far more than you would think.
Mind the background: a tidy space behind you makes the whole shot look intentional.
Soften the knee: a slightly bent front knee creates a longer, leaner line.
How to pose for couple photos
Couple photos work best when they look close and comfortable, not posed and stiff. Stand at a slight angle to each other rather than side by side like two strangers in a queue.
Get close: touching shoulders, an arm around a waist, or holding hands all read as warmth.
Stagger your heights: if one of you is taller, have the shorter person stand a half-step forward.
Interact: look at each other, share a joke, or walk together. Candid beats staring at the lens.
Mind the gap: a tiny space between your faces usually looks better than squashing cheeks together.
How to pose for family photos
Family photos have a lot of moving parts — literally, if there are children involved. The goal is a group that looks connected rather than lined up like a team photo.
Vary the heights: some sitting, some standing, some kneeling. A flat row of heads is the least interesting option.
Cluster close together: gaps between people make a group feel disconnected, so lean in.
Coordinate, don't match: clothes in a similar colour family look pulled-together without being matchy.
Let kids be kids: the best family shots are usually the in-between moments, not the forced "everyone say cheese."
Family photos are also the ones most worth holding onto, and a relaxed, well-posed set deserves more than the camera roll. Gathering a year's worth into a personalised photo book keeps the whole story in one place; if you have never made one, this walkthrough on creating a personalised photo album has layout ideas that stop it looking thrown together.
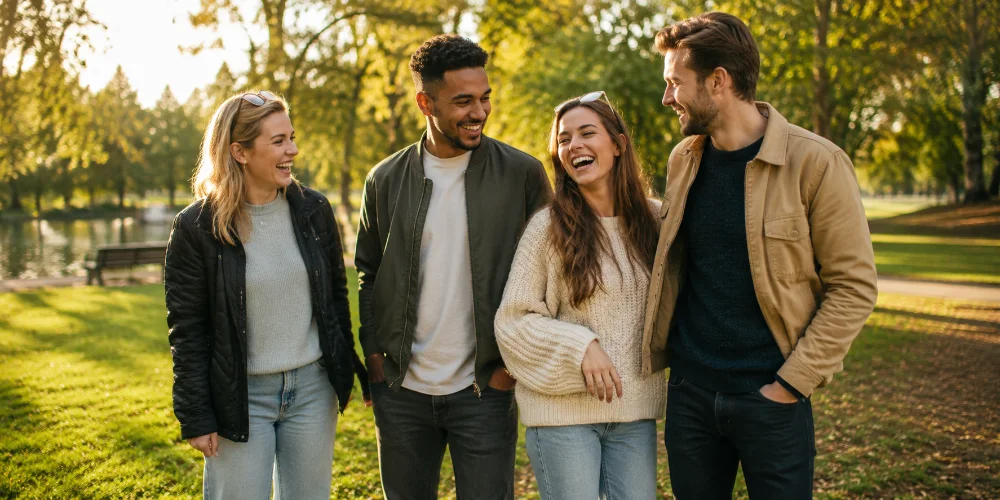
How to pose for group photos
Big groups — friends, work events, parties — can easily turn into a messy blob. A little arrangement goes a long way.
Create rows or a gentle curve: an arc means everyone can see the camera and nobody is hidden.
Tall people towards the back or edges: it balances the frame.
Angle everyone slightly inward: it makes the group feel friendly and unified.
Shoot from slightly above: lifting the camera helps every face show clearly.
How should men pose for photos?
The same basics apply, but men often want a more grounded, relaxed look rather than soft curves. A wider, steadier stance works well.
Feet shoulder-width apart: solid and confident, with weight slightly on one leg.
Hands in pockets, thumbs out: the classic relaxed-but-sharp look.
Angle the shoulders: a slight turn still beats facing dead-on.
Lean on something: a wall or doorway gives an easy, casual posture.
How to pose for a full-body photo
Full-length shots reveal your whole stance, so the weight shift matters even more. Create a relaxed S-curve: weight on the back leg, front knee softly bent, hips angled one way, shoulders turned slightly the other. Keep your arms away from your body and your chin forward. Avoid standing straight-on with feet together and arms glued down — it is the least flattering full-body pose there is.
How to pose for sitting photos
Sitting can cause slouching and squashed posture, so sit towards the front edge of the seat, keep your back tall, and lean very slightly forward from the hips — this engages you with the camera and avoids a hunched look. Cross your ankles or angle your legs to one side rather than planting both feet square. Rest your hands lightly rather than gripping your knees.
Posing for Special Occasions
Weddings, graduations and professional shots come with a little extra pressure because you cannot always reshoot them. A few occasion-specific pointers take the worry out of it.
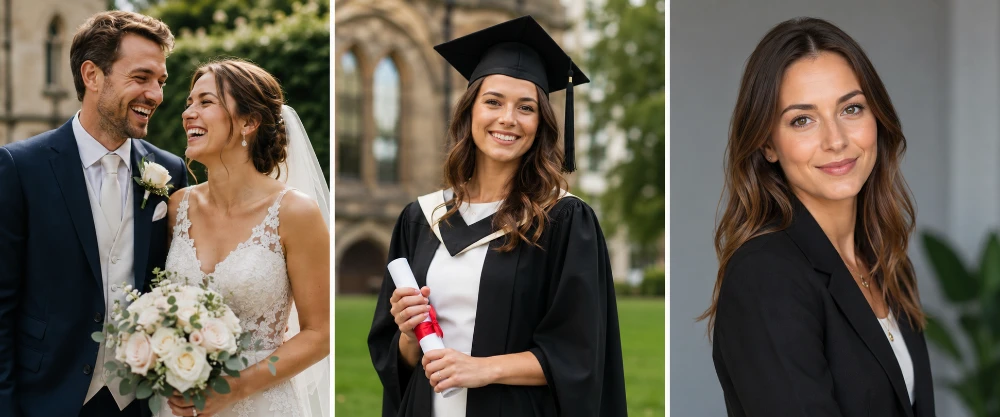
How to pose for wedding photos
Wedding photos are mostly about emotion, so let the day carry you and lean into real moments rather than rigid poses. When you do need to stand for a portrait, angle your bodies towards each other, keep a soft bend in the arms, and hold bouquets a little lower than feels natural — high bouquets hide the dress and create a barrier. Trust your photographer to guide the formal group shots; your job is to relax your shoulders and breathe.
How to pose for graduation photos
For graduation portraits, hold your scroll or certificate in one hand at hip height and turn slightly to the side rather than clutching it to your chest with both hands. Keep your cap straight and tilted back just enough to light your face. A genuine smile beats a stiff one here — you have earned it, so let that show.
How to pose for a professional headshot or LinkedIn photo
Headshots want approachable confidence. Turn your shoulders about 30 to 45 degrees from the camera, then bring your face back to the lens. Push your forehead very slightly towards the camera and chin down a touch to define the jaw. Keep the expression warm — a soft, eyes-engaged half-smile reads as friendly and competent, which is exactly what a professional photo should convey.
How to pose for a passport or ID photo
Passport rules are strict: you must face the camera straight on, with a neutral expression, mouth closed and eyes open, against a plain light background. You cannot use the usual angling tricks. What you can do is sit up tall, lower your shoulders, push your chin slightly forward to define your jaw, and relax your face so it does not look tense. Soft, even light and a tidy collar do the rest. For the full list of rules, see our UK passport photo requirements guide.
How to pose for maternity photos
Maternity portraits are all about gently framing the bump. Turn to the side so the silhouette shows clearly, rest one or both hands beneath the bump to cradle it, and lengthen your spine to avoid a hunched look. Soft, flowing fabrics and natural side light flatter beautifully. Keep movements slow and relaxed — a calm, happy expression suits these photos far more than a big toothy grin.
Looking Slimmer, Taller and More Confident
How can you look slimmer in photos?
To look slimmer in a photo, turn your body about 45 degrees from the camera, put your weight on your back foot, and create a small gap between your arms and your torso. Push your chin slightly forward and down to define your jaw, keep your posture tall, and have the camera held at or just above eye level. These angles do far more than any outfit choice ever could.
How can you look taller?
Lengthen everything. Stand tall with shoulders back, stretch the crown of your head towards the ceiling, and keep your neck long. Pointing the front foot towards the camera and keeping the camera at eye level (not above) helps too. In full-body shots, a slightly lifted chin and a long, lifted posture add visible height.
How can you look more confident?
Confidence in photos is mostly posture and stillness. Drop and open your shoulders, plant your feet with intent, keep your chin level and your gaze steady. Avoid fidgeting or shrinking inward. A calm, grounded stance with relaxed hands says "comfortable in my own skin" more clearly than any expression.
Quick-Reference: Pose Fixes for Common Problems
Skim this the next time you are about to be photographed and cannot remember a thing.
The problem
The quick fix
You look stiff
Shake out your arms, then add gentle movement just before the shot
Don't know what to do with your hands
Pockets with thumbs out, or a hand on your hip
Double chin
Push your chin forward and tip it slightly down
You look wider than you'd like
Turn 45 degrees and put your weight on the back foot
Forced smile
Laugh or think of something funny right before the photo
Squinting in sun
Move into open shade or face away from direct sun
Awkward arms
Leave a small gap between your arms and your body
Looking short
Stand tall, lengthen your neck, shoot from eye level not above
Harsh shadows on face
Move away from direct flash; use soft window or side light
Looking bored
Add the squinch and a slight head tilt
Common Posing Mistakes to Avoid
Facing the camera square-on. It flattens everyone. Angle instead.
Holding your breath. It tenses your whole face. Breathe out slowly as the photo is taken.
Locking your knees and standing rigid. Soften them and shift your weight.
Tilting the chin up. It catches the underside of the nose and chin. Down, not up.
Over-posing. Trying too hard reads as fake. Aim for relaxed, not statuesque.
Pressing arms flat to your sides. Always leave a little daylight.
Ignoring the background. A cluttered or distracting background pulls attention off you.
Wearing only one expression. Mix it up across a few shots so you have options.
Practise Before It Counts
Nobody looks natural the first time they try a new pose. The trick is to practise in private so it feels automatic when it matters. Stand in front of a mirror and run through the basics — the body angle, the weight shift, the squinch. Take a few test selfies in different light and see which angles you prefer. Within ten minutes you will have two or three "go-to" poses you can rely on at any party, wedding or day out.
You can even keep a small printed reference nearby while you practise — some people pin a few favourite shots to a board, and turning a batch of test photos into simple photo prints makes it easy to see what genuinely works for you rather than judging tiny thumbnails on a screen.
This is exactly what confident-looking people are doing. They have simply found their best angles and stopped second-guessing them.
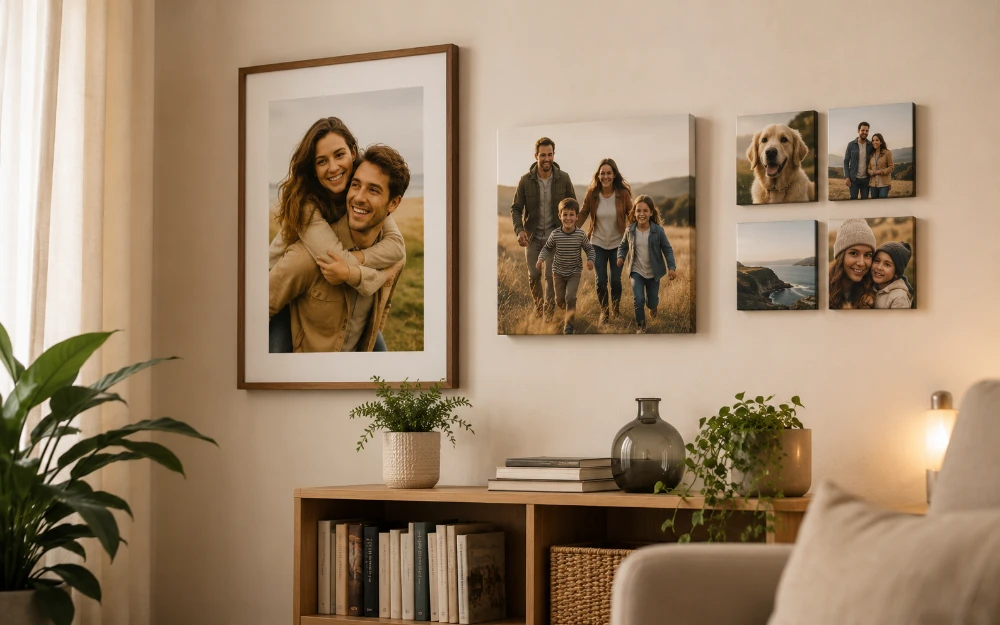
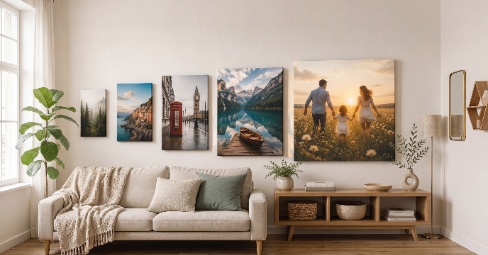
What to Do with the Photos You Love
Learning to pose has a happy side effect: you start ending up with photos you actually like. It is a shame to leave them stuck on a phone where nobody sees them. A handful of favourites are worth getting out into the real world.
If you are turning a recent shot into something for the wall, a gallery-wrapped canvas print gives a soft, frame-free finish that suits relaxed candid photos, while a framed photo print with a clean white mount suits more formal portraits and headshots. For people who like to change their display often, MIXPIX® photo tiles are nail-free and use a magnetic and adhesive Magnofix® system, so you can swap and rearrange your best shots whenever you fancy.
Not everything needs to go on a wall, of course. A well-posed portrait makes a lovely personalised photo mug for a morning brew, and if you have never ordered prints before, this short guide to printing photos online in the UK covers uploading and choosing sizes in a few minutes. The point is simply this: a photo you posed well for is worth enjoying somewhere other than a screen.
The Takeaway
Posing well is not about being born photogenic — it is about a few simple habits that quickly become second nature. Angle your body, shift your weight, relax your shoulders, give your hands a job, find soft light, and let your smile come from a real moment. Practise once or twice and you will never dread a camera again.
Best of all, these tricks work for everyone, in every situation, at every age. The next time someone says "smile," you will know exactly what to do — and you will like the result.
Frequently Asked Questions
How do I pose for photos if I feel awkward?
Start by giving your hands a job — pockets, hips, or holding something — and shift your weight onto your back foot so you are not standing rigid. Turn your body slightly to the side, breathe out slowly, and add a little movement just before the photo. Awkwardness comes from tension, so the more relaxed and busy your body is, the more natural you look.
What is the most flattering pose for photos?
The most flattering all-round pose is to angle your body about 45 degrees from the camera, put your weight on your back foot, leave a small gap between your arms and torso, and push your chin gently forward and down. Add a relaxed smile that reaches your eyes. This works for nearly everyone, in nearly every setting.
How do I smile naturally in photos?
Smile with your eyes as well as your mouth. Think of something that genuinely makes you happy just before the shot, relax your jaw, and let the smile build rather than forcing it on. A quick laugh resets a stiff face, and a tiny squint of the lower eyelids — the squinch — makes the smile look warm and engaged.
Where should I put my hands when posing?
Give them a purpose so they do not hang stiffly. Good options are hands in pockets with the thumbs out, one hand on a hip, a gentle touch to your hair or chin, or simply holding a prop such as a cup or bag. Keep a small gap between your arms and your body for a more open, flattering shape.
How can I look slimmer and taller in photos?
Turn 45 degrees to the camera with your weight on the back foot, and create space between your arms and body. Stand tall with shoulders back and neck long, push your chin slightly forward to sharpen your jaw, and have the camera held at or just above eye level rather than below it.
What's the best angle to take a selfie?
Hold the phone slightly above your eye line and tilt it down a touch — this is the most flattering selfie angle and defines your jaw. Turn your head a little to one side, find soft light on your face such as a window, and take several shots to choose from.
How should a group pose for a photo?
Arrange people in a gentle curve or rows rather than a flat line, with taller people towards the back or edges. Get everyone to cluster close and angle slightly inward, and take the photo from a little above eye level so all the faces show clearly.
Why do I look bad in photos but fine in the mirror?
A mirror shows a flipped, moving, three-dimensional view of you, while a photo freezes one flat moment — often from a low angle, in harsh light, and through a lens that distorts features. It is not that the camera is honest and the mirror lies; they are simply different views. Better angles, softer light and a few posing habits close most of the gap.
How do I look good in photos without smiling?
Keep a neutral face soft rather than stern. Relax your forehead and jaw, part your lips a fraction instead of clamping them shut, and keep a gentle squint in your eyes. Angle your body and lift your chin slightly. A relaxed, lightly engaged expression reads as calm and confident, while a completely blank face can look grumpy.
How can I be more photogenic?
Being photogenic is a skill, not a gift. Learn your best angle by testing poses in a mirror, always angle your body rather than facing straight on, find soft light, relax your shoulders, and practise a genuine eyes-engaged smile. The more you practise the basics, the more automatic and natural they become.