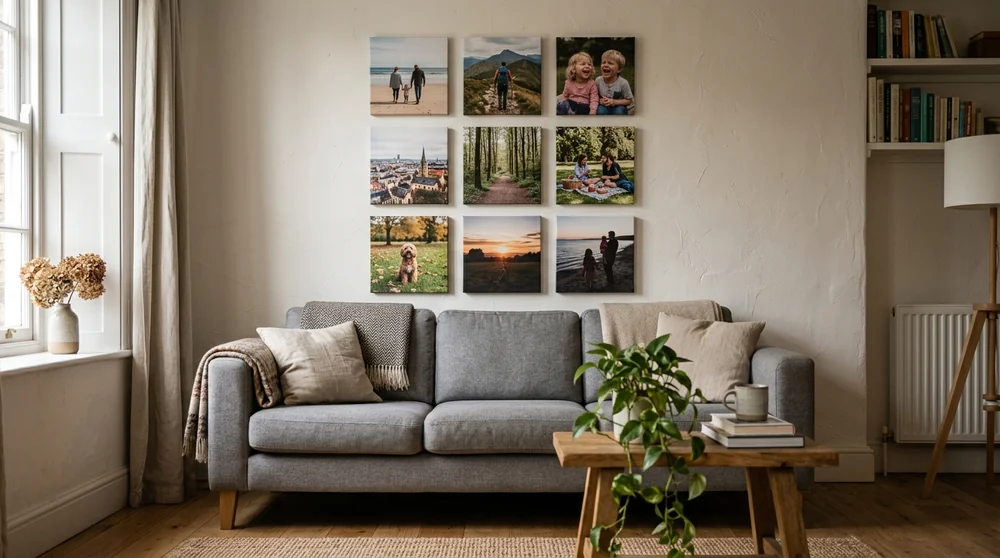
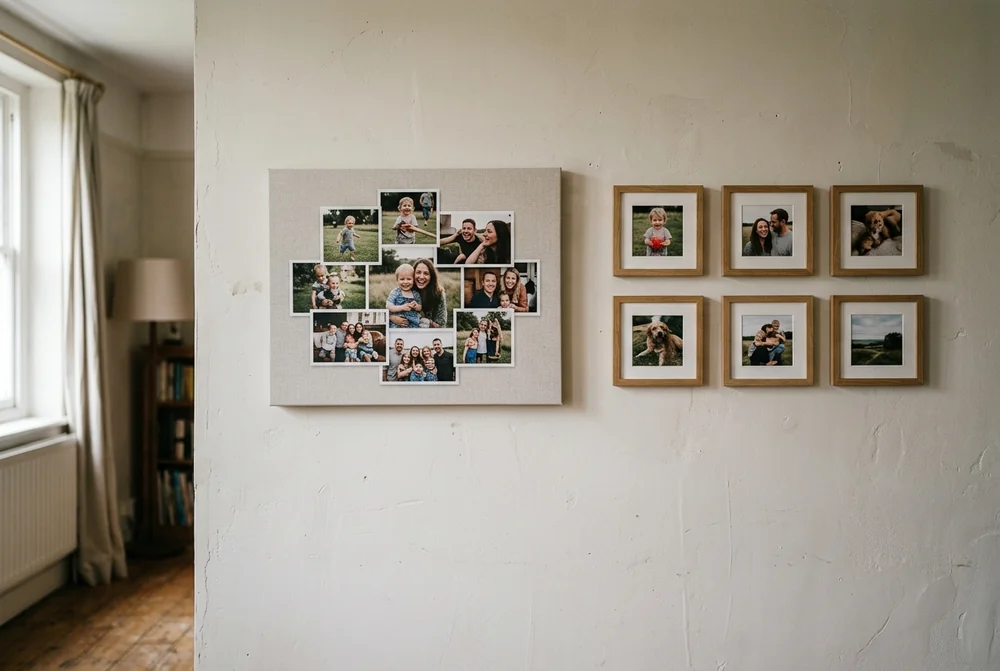
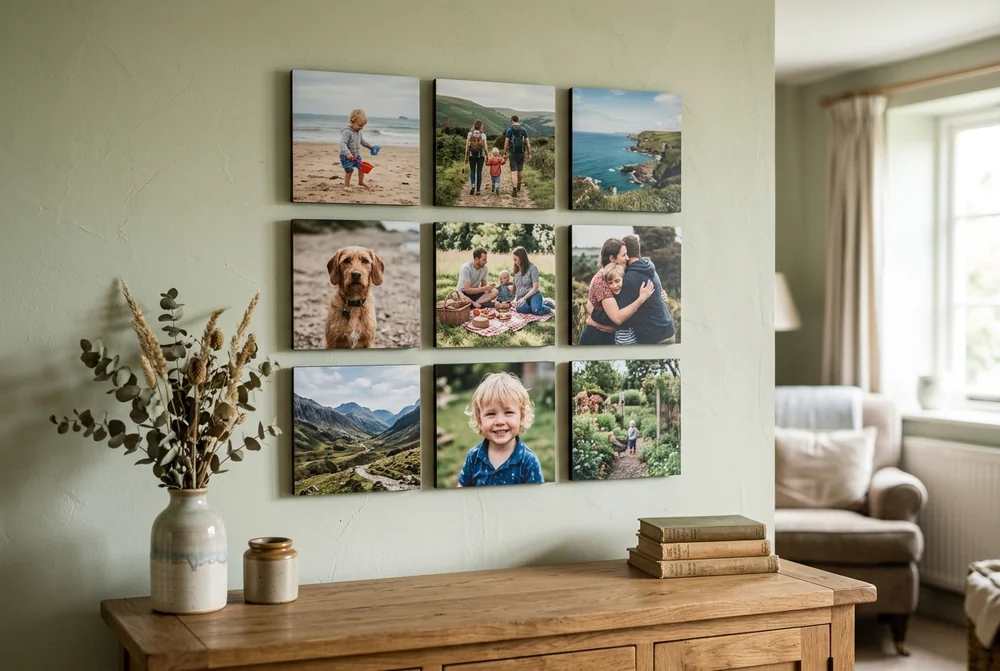
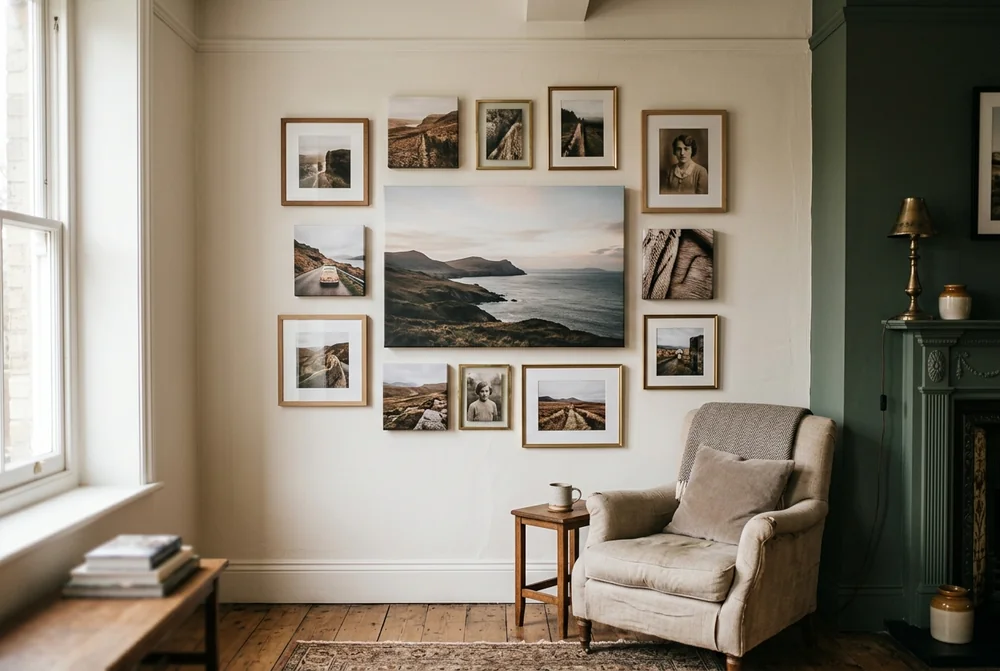
A photo collage wall is a group of photos hung together as one display. The easiest layouts are a 3x3 grid, a single row above a sofa, and a loose cluster you add to over time. Leave 5 cm between pieces and hang the middle of the whole group at eye level, around 145 cm from the floor.
Most photo walls go wrong for one of two reasons. Either the gaps between the pieces are uneven, or the whole group is too small for the wall behind it. Both are fixed before you order anything, and neither fix costs money.
There is a second thing worth knowing early. You do not have to hang lots of separate prints. A collage can also be one single print with several photos inside it. That choice changes the price, the effort and the finished look, so it is the first thing this guide sorts out.
The short version
A collage wall means one of two things. Either several separate prints hung as a group, or one print with several photos inside it. Both are covered below.
Prices start low. Poster prints from £3.00, canvas prints from £4.50, MIXPIX® photo tiles from £5.00 a tile, and a photo collage on canvas from £14.00. Prices checked 14 August 2026.
The gap is 5 cm. Keep it the same everywhere. Uneven gaps are the single most common mistake, and they are the reason a wall looks untidy even when the photos are lovely.
Hang the middle at about 145 cm. Measure to the centre of the whole group, not to the centre of each piece.
Renting? Use stick-on tiles. MIXPIX® come with a free Magnofix® hanger, so there are no nails and no holes to fill when you leave.
The trade-off: many pieces give you flexibility and room to grow. One piece gives you a finished wall for less money, in under five minutes, with a single fixing.
What is a photo collage wall?
A photo collage wall is any wall display built from more than one photo. In practice it comes in two forms, and people often use the same words for both, which is where the confusion starts.
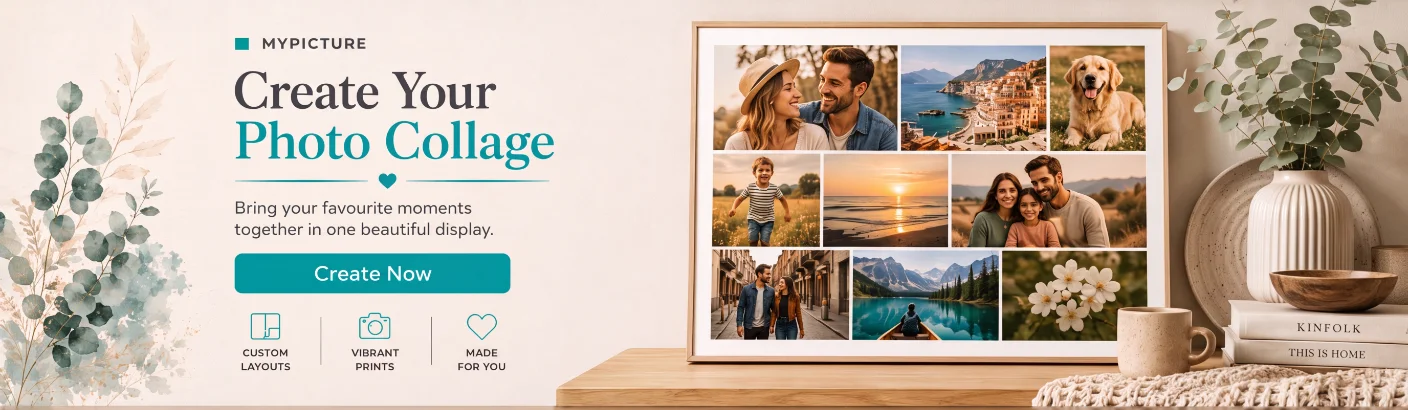
The first form is a multi-piece wall. You order several separate prints, tiles or frames and arrange them together. The second form is a one-piece collage print, where several photos sit inside a single canvas, poster or acrylic panel. At MYPICTURE, our photo collage prints hold anywhere from 2 to 30 or more photos depending on the template, and grid layouts take up to 36.
Here is how the two compare on the things that actually matter.
Many separate pieces
One collage print
What it is
Several prints hung as a group
One print with several photos inside it
Photos on show
As many as you hang
2 to 36, depending on the template
Fixings in the wall
One per piece, or none with stick-on tiles
One
Time to put up
30 to 90 minutes
Under 5 minutes
Easy to change later
Yes, swap or add pieces
No, you would order a new print
Starts from
£5.00 a tile
£14.00
Neither is better. A multi-piece wall suits a family that keeps taking photos. A one-piece collage suits a gift, a rented flat, or anyone who wants the wall finished today.
A collage wall is not quite the same thing as a gallery wall, although the words get swapped around. A gallery wall usually means framed art and prints of mixed subjects. A collage wall means photos, and the photos are usually yours. If you are after the framed-art version, our gallery wall ideas guide covers that side.
Grid layouts: 4 photo collage wall ideas
Grids are the safest place to start. Every piece is the same size, so the only thing you have to get right is the gap. If you have never hung a photo wall before, pick one of these four.
1. The 3x3 square
Nine square prints in three rows of three. With 20x20 cm tiles and 5 cm gaps, the finished block measures 70 x 70 cm. It sits well above a sideboard, a desk or a small sofa, and it is the layout most people picture when they say collage wall.
2. The 2x4 block
Eight pieces in two rows of four. At 20x20 cm with 5 cm gaps that gives you 95 x 45 cm, which is a good shape for the wall above a bed or a long low unit. The wide, short shape stops it competing with the furniture.
3. The single row
Three to six pieces in one straight line at eye level. This is the quickest layout to hang and the hardest to get wrong, because you only have one line to keep level. It works especially well in a hallway where you walk past rather than sit and look.
4. The stacked pair
Two rows of the same width, one above the other, with the same gap between the rows as between the pieces. Use it when your wall is tall and narrow, such as the space between a door and the corner of a room.
Salon and cluster layouts: 4 ideas
Cluster layouts mix sizes and shapes. They look relaxed, but they take more planning than a grid, because the eye notices when the outside edge of the group is a strange shape. The trick is to decide the outer rectangle first, then fill it.
5. The classic salon hang
One large piece slightly off centre, with smaller pieces packed around it. Keep every gap at 5 cm and let the outer edge form a rough rectangle. A 60 x 40 cm canvas makes a good anchor, with 20 x 20 cm tiles filling in around it.
6. The grow-as-you-go cluster
Start with five or six pieces and add one every few months as you take new photos. This only works if every piece uses the same fixing method, so plan the hanging system before the layout. Stick-on tiles make this the easiest layout in the guide to live with.
7. The centre-out cluster
Put your favourite photo in the middle at eye level, then build outwards in rings. It gives the group an obvious focal point, which helps when the photos themselves are very different in colour and style.
8. The corner turn
Run the display around an internal corner, with the same gap on both walls. It suits awkward rooms where no single wall is big enough. Keep the pieces small, 20 x 20 cm or so, or the corner starts to feel crowded.
Line, ledge and shelf layouts: 4 ideas
These layouts follow a line that already exists in your home, which is why they tend to look right with very little effort. They are also the friendliest layouts for renters, because several of them need no fixings at all.
9. The picture ledge
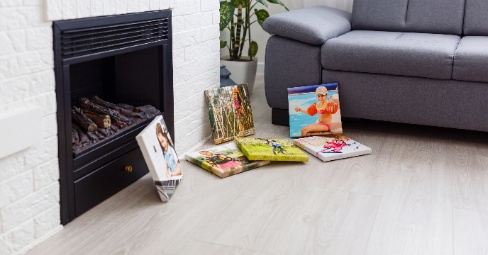
A narrow shelf with prints leaned against the wall, overlapping slightly. One fixing holds the whole display, and you can rearrange it in seconds. Lean a larger piece at the back and smaller ones in front so nothing is hidden.
10. The staircase sweep
Prints that climb the wall at the same angle as the stairs. Measure from each stair nose, not from the floor, and keep the same distance from every print to the step below it. Get that one measurement right and the whole run looks deliberate.
11. The doorway frame
A line of small prints running up one side of a door, across the top and down the other side. It turns dead wall space into a display and it suits narrow hallways where a block of prints would feel heavy.
12. The long hallway line
Ten or more small prints in one continuous row, all the same size, all at the same height. Hallways are usually too narrow for anyone to stand back and take in a large display, so a line you read as you walk past works better than a block.
Shape and statement layouts: 4 ideas
These are the layouts people remember. They take longer to plan, and they are worth it for a wall you will look at every day.
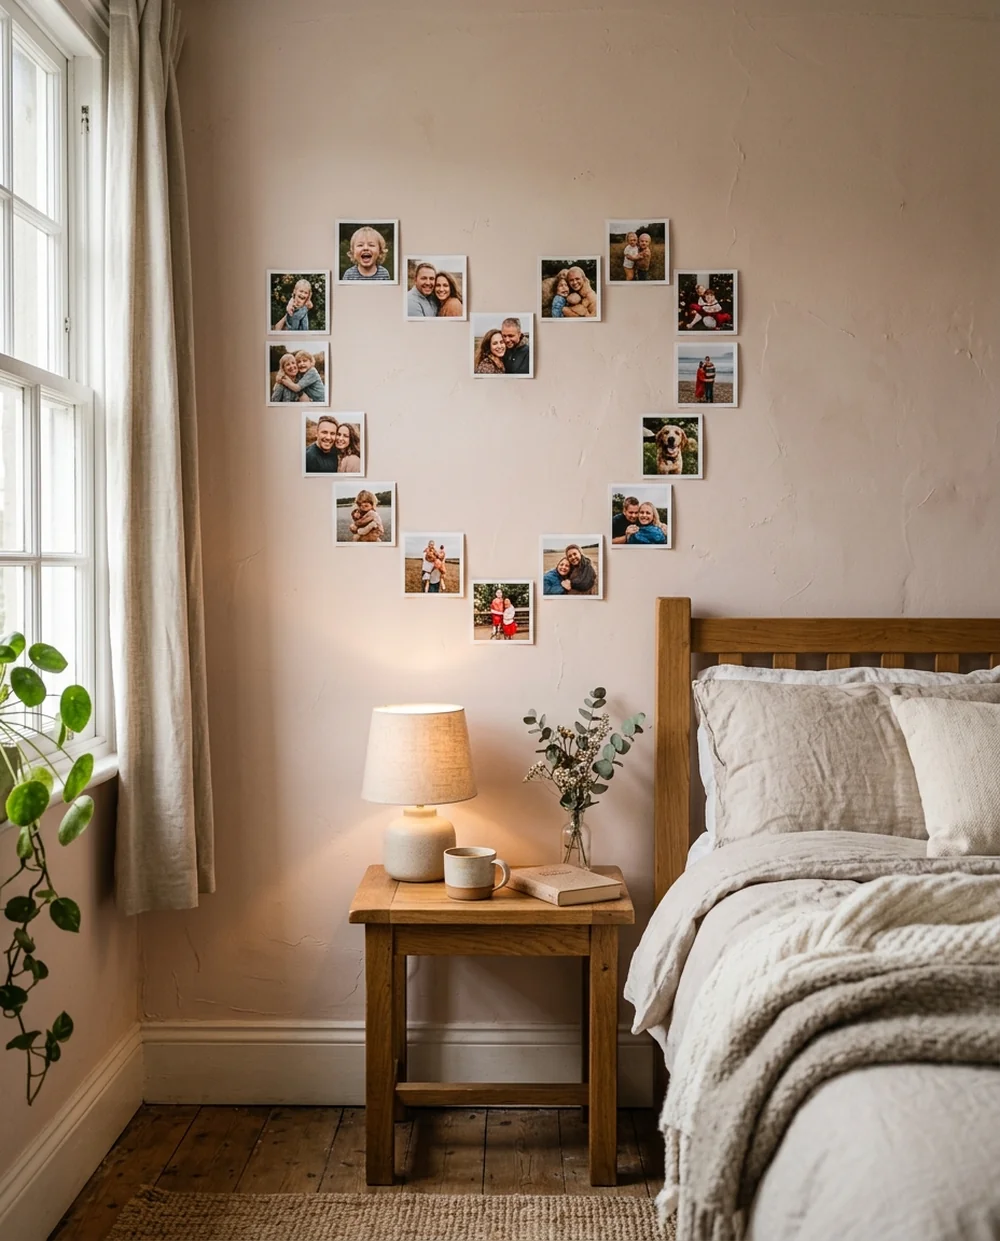
13. The heart
Small square prints arranged into a heart outline. Twenty to twenty-five 20 x 20 cm tiles is about right for a heart roughly 130 cm tall. Cut the shape out of paper first and tape it to the wall, because a heart is very unforgiving if one tile is off.
14. The letter or number
Build an initial, a house number or a milestone age out of prints. Straight-sided letters such as L, T, E and H are much easier than curved ones. This layout is popular for children's rooms and for 18th and 50th birthdays.
15. The arch
A block of prints with the top corners stepped in to form a soft arch. It softens a square room and it works well above a bed. Use an odd number of columns so the arch has a clear middle.
16. One big piece plus small ones
A single large canvas print with three or four small pieces beside it, all sharing the same top or bottom line. This is the layout to choose when you have one photo you genuinely love and several you merely like.
One-piece collage prints: 4 ideas
If drilling is not an option, or you want the wall finished in one go, a single collage print does the same job as a whole wall of small frames. Our photo collage on canvas starts at £14.00 and comes in sizes from 20 x 20 cm up to 100 x 75 cm.
17. The grid collage print
Nine, sixteen or thirty-six photos in even squares inside one print. From two metres away it reads almost the same as a hung grid, but it needs one nail instead of nine and it cannot go crooked.
18. The heart collage print
A heart made of photos inside a single canvas. Heart templates typically hold 15 to 25 images. It is the most common choice for anniversary and Mother's Day gifts, and it saves the recipient from having to hang anything complicated.
19. The collage poster for an event
Posters print on 260 g/m² photo paper and start at £3.00, which makes them the cheapest way to put a lot of photos on a wall. They suit birthdays, leaving dos and christenings, where the display only needs to last the day and then go in a drawer.
20. The collage on acrylic or aluminium
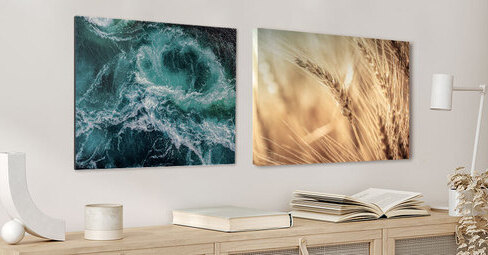
Acrylic and aluminium collage prints start at £13.00 and give a harder, glossier finish than canvas. Acrylic lifts colour and depth. Aluminium suits black and white photos and rooms with a lot of daylight, because it holds contrast well.
No-frame and renter-friendly layouts: 4 ideas
If you rent, your tenancy agreement almost certainly has something to say about holes in the wall. These four layouts leave nothing behind.
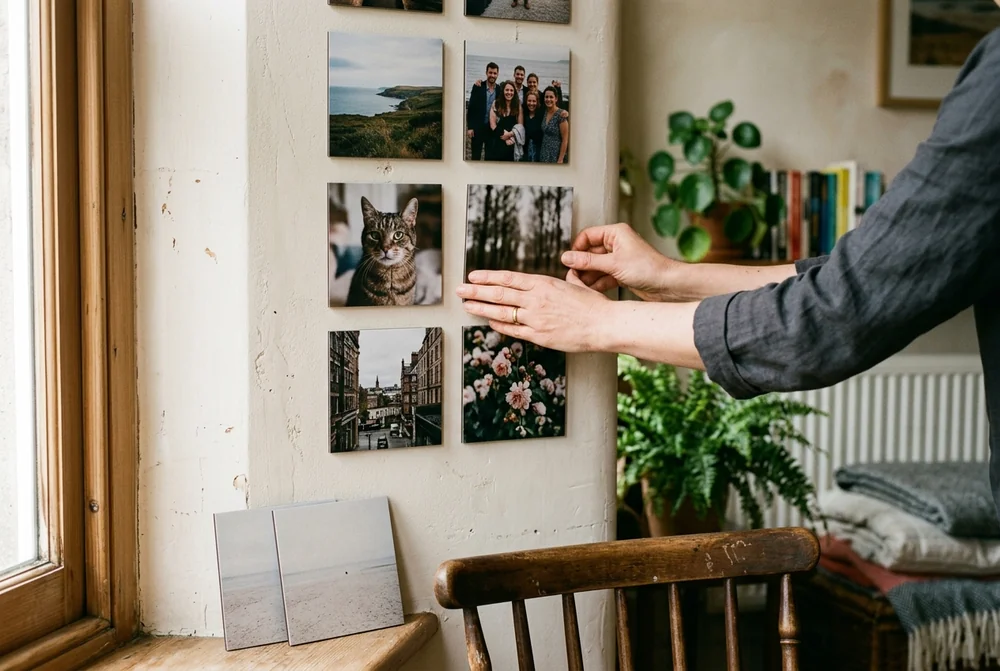
21. Stick-on photo tiles
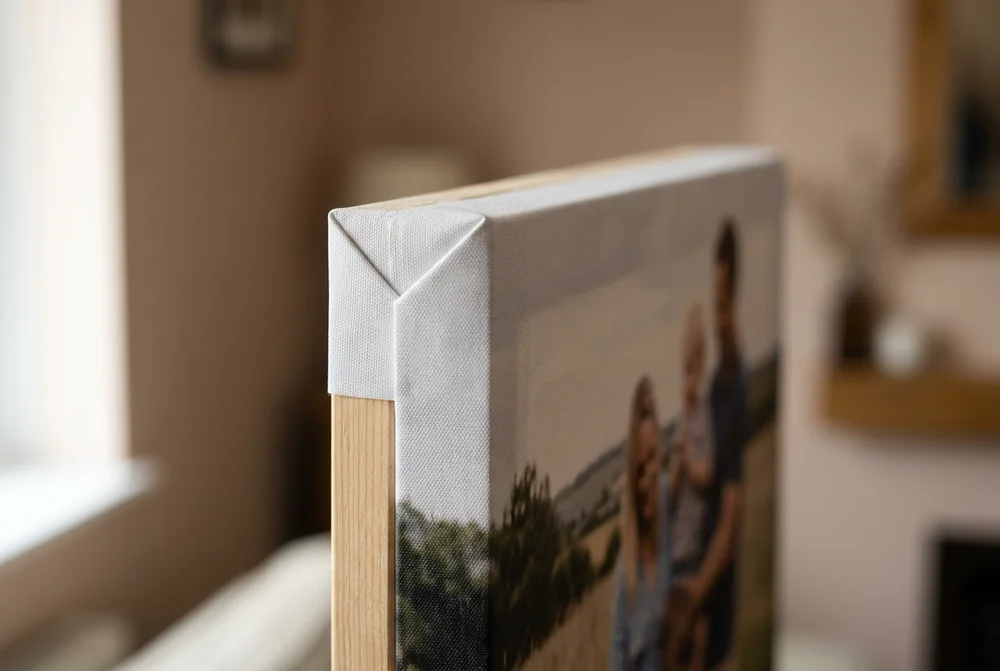
MIXPIX® tiles are 20 x 20 cm, 1 cm thick and printed on a light foam core. Each one comes with a free Magnofix® hanger, which is two thin strips, one sticky side and one magnetic side. Stick one strip to the wall, one to the tile, and press them together. Tug gently to take a tile down and put it back somewhere else.
22. The washi tape border
Tape plain prints straight to the wall and use coloured washi tape as the frame. It costs almost nothing, it peels off cleanly, and it suits student rooms and children who change their minds often.
23. String and pegs
Two or three lengths of string across a wall with prints pegged along them. Use small prints, 10 x 15 cm or similar, and keep the strings level with each other. Two fixings hold a display that would otherwise need twenty.
24. Clipboards or bulldog clips
Hang plain clipboards and clip a print into each one. Swapping a photo takes two seconds and the clipboard stays put. This is the layout to use for children's artwork and school photos that change every year.
Spacing, height and size: the numbers that make it look right
This is the part almost no photo wall guide gives you in real measurements. Getting these five numbers right matters more than which photos you choose.
What you are setting
The number
Why it matters
Gap between pieces
5 cm (up to 8 cm for prints over 60 cm wide)
Even gaps make separate prints read as one display
Height of the display centre
145 to 150 cm from the floor
Eye level for most adults, standing
Gap above a sofa or bed
15 to 25 cm from the furniture to the lowest print
Any more and the display floats away from the furniture
Total width of the display
About two thirds the width of the furniture below
Stops the group looking undersized on the wall
Gap from the ceiling or coving
At least 30 cm
Gives the display room to breathe
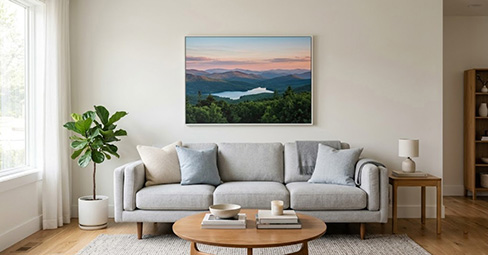
The two-thirds rule is worth a worked example. A standard three-seater sofa is around 210 cm wide, so aim for a display around 140 cm wide. Six 20 x 20 cm tiles in a row with 5 cm gaps comes to 145 cm, which is close enough. Our canvas print size guide has the same maths for single pieces.
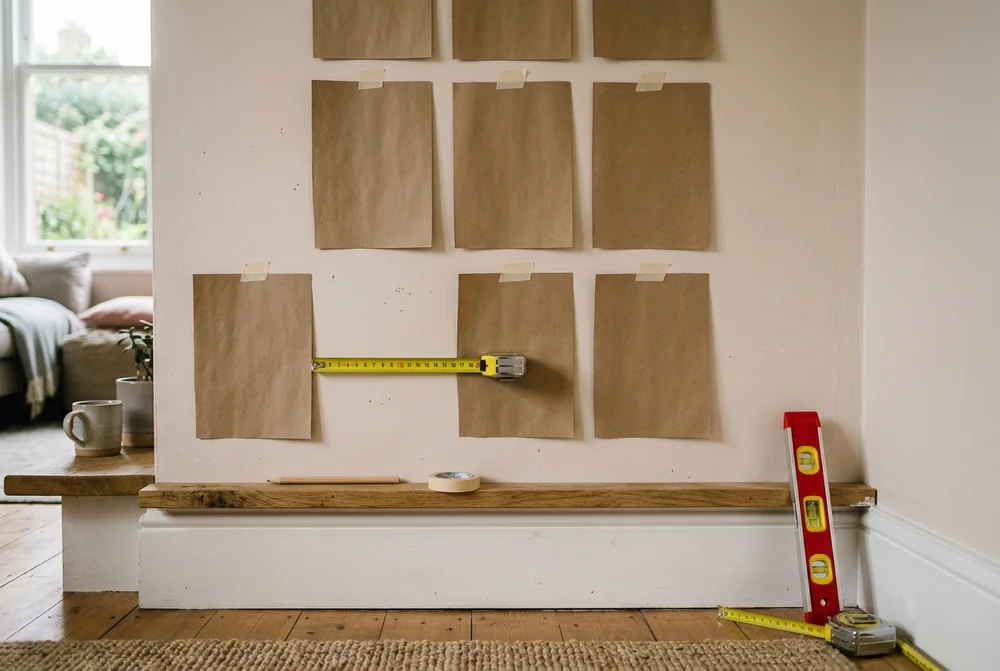
Before you put a single nail in, cut paper rectangles the size of each print and tape them to the wall. Move them around until the outer edge of the group looks like a clean rectangle. This costs nothing, takes fifteen minutes, and it is the difference between a wall you like and a wall full of filled holes.
One more thing about which wall you pick. The conservation team at The National Archives advise reducing photographs' exposure to light, because light damage builds up and cannot be reversed. A wall in direct afternoon sun will fade any print eventually, so put your collage on a wall that gets bright indirect light rather than a sunbeam.
What a collage wall actually costs: a worked example
Here are four ways to fill roughly the same piece of wall, priced at MYPICTURE on 14 August 2026. Delivery is free on orders over £49 and £6.00 below that, which changes the answer more than you would expect.
Collage wall
What you order
Wall covered
Product cost
Delivery
Total
Nine-tile grid
9 x MIXPIX® 20 x 20 cm
About 70 x 70 cm
£45.00
£6.00
£51.00
Three-across row
3 x 40 x 30 cm canvas
About 130 x 30 cm
£48.00
£6.00
£54.00
One-piece collage
1 x collage on canvas
From 20 x 20 cm
From £14.00
£6.00
From £20.00
Mixed wall
1 x 60 x 40 cm canvas + 6 MIXPIX®
About 135 x 45 cm
£54.00
Free
£54.00
Look at the last two rows. Both cost £54.00, but the mixed wall covers around half as much wall again, because crossing £49 removes the delivery charge and the saving goes into the print. If your basket lands between £43 and £49, one extra tile is effectively free.
The one-piece collage is the cheapest entry point by a wide margin. What the extra money buys on a multi-piece wall is not better printing. It is the ability to change your mind later.
Will your photos print sharp enough?
A collage wall is the one place where a weak photo shows up badly, because it hangs next to sharp ones. As a working rule, wall art needs about 150 dots per inch. Below that, fine detail starts to soften when you stand close.
Print size
Pixels needed at 150 DPI
What that means in practice
20 x 20 cm
1,181 x 1,181
Any phone photo from the last ten years
30 x 20 cm
1,772 x 1,181
Any phone photo
40 x 30 cm
2,362 x 1,772
Any phone photo
60 x 40 cm
3,543 x 2,362
A 12-megapixel phone photo is comfortable
80 x 60 cm
4,724 x 3,543
12 megapixels is close; 16 or more is safer
100 x 75 cm
5,906 x 4,429
A 24-megapixel camera file
The trap most people fall into is the source of the file rather than the camera. A photo sent through WhatsApp or downloaded from a social feed has usually been compressed to a fraction of its original size, and no amount of enlarging brings that detail back. Always work from the original file in your camera roll. Our guide to photo print resolution covers this in more detail.
Canvas is the forgiving format here. The woven surface breaks up fine detail slightly, so a photo that would look soft on gloss paper often looks fine on canvas at the same size.
A three-question test to settle it
Are you renting, or likely to move within two years? If yes, go with stick-on tiles or a picture ledge. No holes, nothing to make good, and the display moves with you.
Do you want to add photos as you take them? If yes, choose a grid or a grow-as-you-go cluster, and use the same size and fixing for every piece so a new one always fits.
Do you want it on the wall today, with one fixing? If yes, choose a one-piece collage print. It is the cheapest option, the fastest to hang, and the only one that cannot end up crooked.
If your answers split, the mixed wall usually wins. One larger canvas as the anchor for the photo you love, and a handful of tiles around it for the ones that will change.
Why choose MY-PICTURE.CO.UK over other competitors?
MYPICTURE prints wall art in Europe and sells it at factory prices, with a Lowest Price Guarantee that beats a lower like-for-like UK price by 5%.
For collage walls specifically, two things matter: how many photos a single collage template will hold, and how many different formats you can build a wall from. The table below compares those points against Photobox, using figures published on both sites and checked on 14 August 2026.
*Ratings and prices correct as of August 2026. Prices exclude delivery; all brands run periodic promotions.
Whichever way you go, do the paper templates first. Fifteen minutes with scissors and masking tape will improve your wall more than any product choice on this page. When you are ready, our photo collage prints and MIXPIX® photo tiles are the two quickest places to start.
Frequently asked questions
Are collage walls still in style?
Yes. What has changed is the execution rather than the idea. The tightly packed, mismatched frames of ten years ago have given way to cleaner arrangements: even 5 cm gaps, repeated sizes, and fewer but larger pieces. Personal photos have also replaced generic prints in most of the layouts people ask us about. A collage wall of your own photos does not date in the way a trend-led print does.
How do I make a picture collage for my wall?
Pick your photos, decide whether you want several separate prints or one collage print, then order. If you are hanging several pieces, cut paper rectangles the size of each print, tape them to the wall and move them until the outer edge of the group forms a clean rectangle. Then hang from the middle outwards, keeping every gap at 5 cm.
How do you lay out a collage wall?
Set the centre of the whole display at 145 to 150 cm from the floor, keep 5 cm between pieces, and make the group about two thirds as wide as the furniture underneath it. Start with the middle piece and work outwards. If you are mixing sizes, put the largest piece slightly off centre rather than dead centre, and fill around it.
What are some ideas for family photo collages to hang on my wall?
A 3x3 grid of square prints above a sideboard is the simplest. A staircase sweep works well for photos in date order, from the oldest at the bottom to the newest at the top. A heart or an initial built from small tiles suits a child's room. For a gift, a single collage canvas holding 15 to 25 photos needs only one nail.
What wall decor is in for 2026?
Three things are clear from what UK shoppers are buying and searching for. Damage-free hanging keeps growing, driven by renters. Mixed materials on one wall, such as canvas alongside wood or aluminium, have replaced matching frame sets. And single larger statement pieces are being chosen over lots of small ones. A collage wall can do all three at once.