To design a personalised photo tote bag, choose a photo that is at least 2,362 pixels on its shortest side for a 40 x 40cm print, keep faces and text inside a 35 x 32cm safe area away from the handles and hem, then wash the finished bag inside out at 30°C on a short cycle.
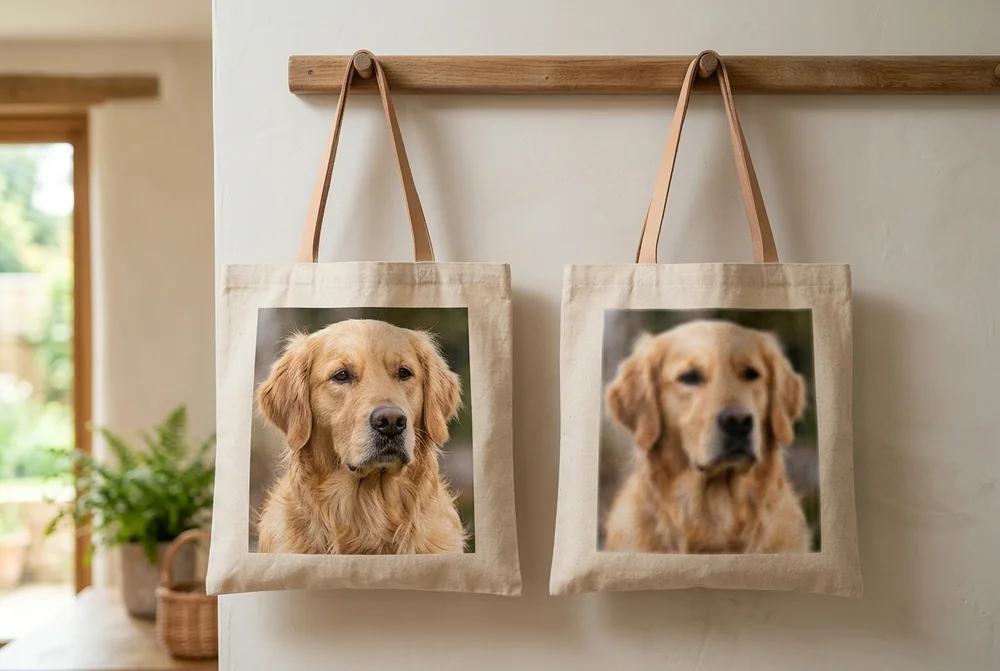
Most photo bags that disappoint were never a printing fault. The photo looked sharp on a phone, and a phone screen packs roughly 460 pixels into every inch across a six-inch panel. The bag asks the same file to stretch across nearly sixteen inches of cotton. Nothing about the file changed. The job it was asked to do got four times harder.
The second common fault is quieter. A photo that arrives by WhatsApp is usually shrunk to about 1,080 pixels wide before it reaches you. That is enough for a screen and it is not enough for a 40cm bag. The version sitting in your own camera roll is often four times larger than the one a relative sent you of the same moment.
The short version
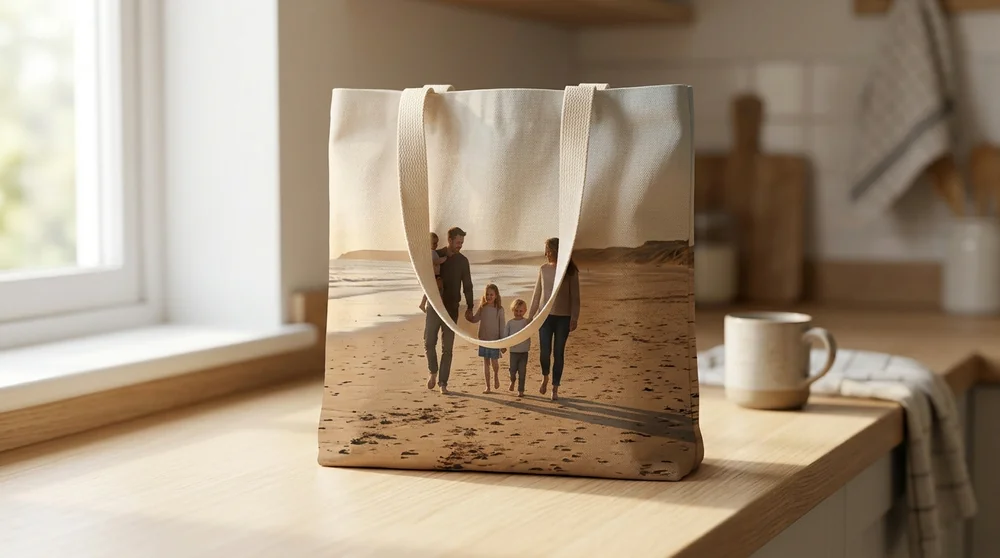
A photo tote bag from MYPICTURE measures 40 x 40cm and costs £14.90. The print runs across the full front, edge to edge, using 12-colour printing on hand-sewn, tear-resistant fabric.
Aim for 150 pixels per inch at the finished size, not 300. Cotton weave hides fine detail that photo paper would show, so a 2,362 x 2,362 pixel file fills a 40 x 40cm bag properly. On paper you would want double that.
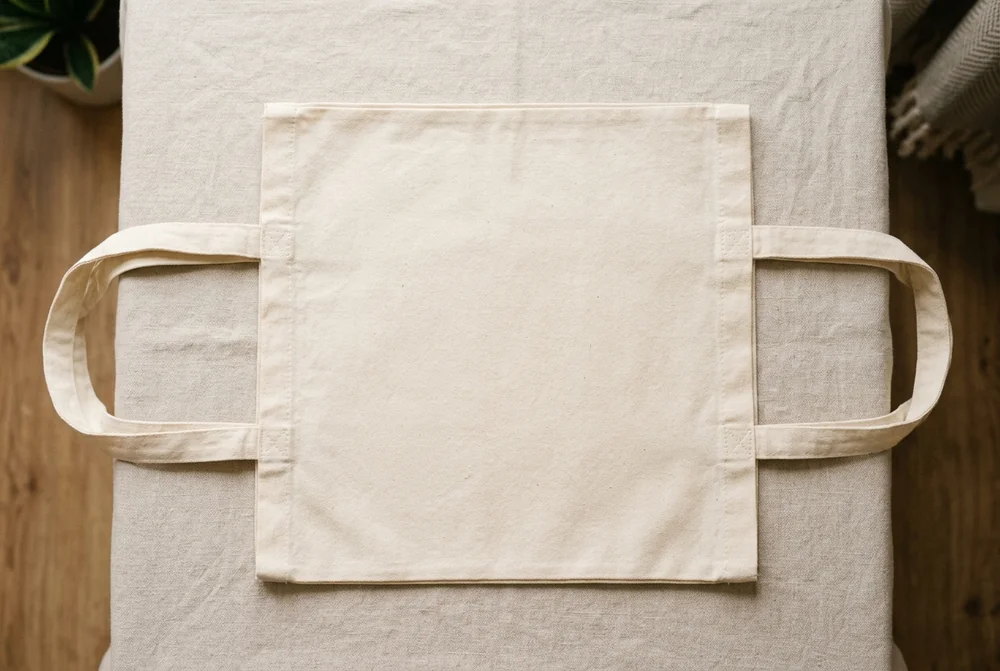
Keep faces and text inside roughly 35 x 32cm. The handles, the top hem and the base seam all take a bite out of the edges, and a face too close to the top can end up behind a strap.
Wash it inside out at 30°C on a short cycle. University of Leeds researchers found a short cool wash cut dye loss by up to 74% compared with a longer, warmer one.
Whichever bag you buy, send the original file from your camera roll rather than a copy that has passed through a messaging app.
Why a printed bag is not the same as a printed photo
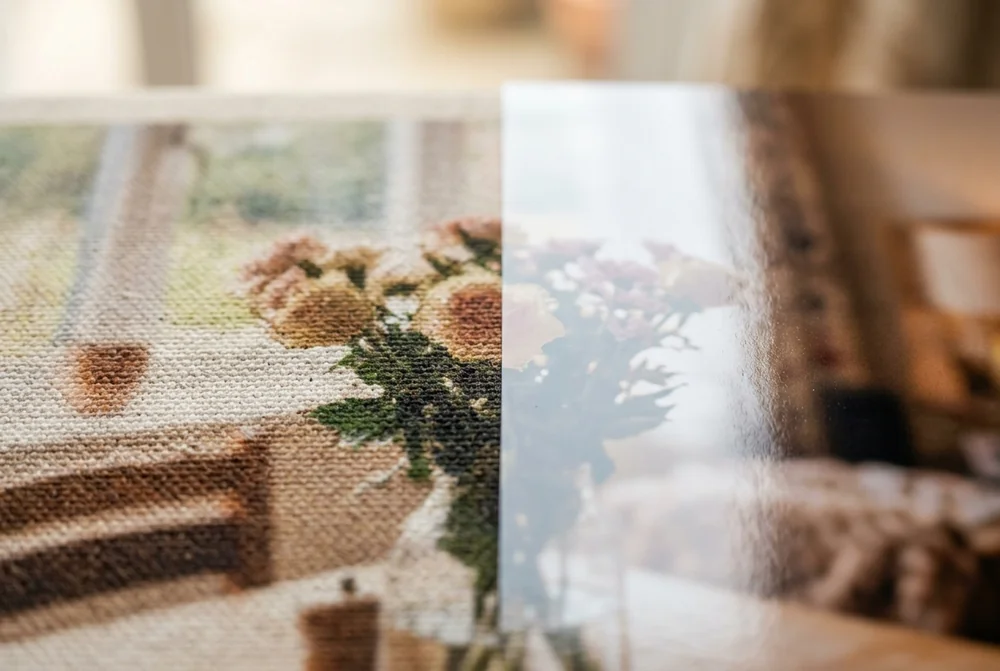
A photo print sits on a coated surface. The ink stays where it lands, so the paper can hold detail finer than a human eye resolves at reading distance. Cotton does none of that. Ink soaks slightly into each thread and spreads along the weave, and the weave itself sets a floor on how fine any detail can be. Below that floor, extra pixels are thrown away.
That is why the resolution rules from photo printing do not transfer. Chasing 300 pixels per inch on fabric costs you file size and gains you nothing visible. Falling below about 150 is where the softness starts to show at arm's length, which is the distance a bag is actually seen from.
The other difference is that a bag gets washed, and a print does not. Research from the University of Leeds and Procter & Gamble, published in the journal Dyes and Pigments, found that the rate at which dye leaves fabric climbs sharply between 20°C and 40°C, and that a 30-minute wash at 25°C released up to 74% less dye than an 85-minute wash at 40°C. A bag you wash hot will fade, whoever printed it.
Step one: choose your bag size and find the real print area
UK photo services sell tote bags in sizes that look similar and are not. The bag size is the easy number. The number that decides your design is the print area, and almost nobody publishes it.
Service
Bag size
Print
Price
MYPICTURE
40 x 40cm
Full front, edge to edge
£14.90
Boots Photo
45 x 40cm
Full surface, both sides
£24.99
Snapfish
15 x 16.5in (about 38 x 42cm)
One side
£7.49 (list £15)
YourSurprise
36 x 40cm
One or both sides
£9.34
Tradeprint
35 x 34 x 6cm small, 47 x 38 x 12cm large
Full colour
from £9.07
Printerstudio
20.5 x 15.5 x 6in
One side
£23.05
CanvasChamp UK
Not published
Full colour
£24.99–£39
Like-for-like prices checked August 2026. Photo services discount constantly, so treat every figure as a starting point.
Standard trade artwork guidance keeps a design at least 1 inch clear of the sides and 1.5 inches clear of the top hem and the base. On a 40 x 40cm bag that leaves a working area of about 34.9 x 32.4cm — call it 35 x 32cm. A full-bleed print still covers the whole front, but everything you need a person to actually see belongs inside that inner rectangle.
Step two: check the photo is big enough
Work out the pixels you need from the finished print size, not from the megapixel number on the box. The table below gives both the fabric floor and the paper standard for the same sizes.
Finished print size
150 DPI (fabric floor)
300 DPI (paper standard)
20 x 20cm
1,181 x 1,181 px
2,362 x 2,362 px
30 x 30cm
1,772 x 1,772 px
3,543 x 3,543 px
35 x 32cm (safe area)
2,067 x 1,890 px
4,134 x 3,780 px
40 x 40cm (full front)
2,362 x 2,362 px
4,724 x 4,724 px
A 40 x 40cm print at 300 DPI would need a 22.3 megapixel file. At 150 DPI it needs 5.6 megapixels. That gap is the whole reason fabric is more forgiving than paper, and it is why a phone photo that would fail on a large canvas passes easily here.
Here is what real files give you across a 40cm width:
Where the photo came from
Typical pixels
DPI across 40cm
Verdict
12MP phone photo
4,032 x 3,024
256 / 192
Fine
48MP phone photo
8,064 x 6,048
512 / 384
Fine
Square crop of a 12MP photo
3,024 x 3,024
192
Fine
One face cropped tight from a 12MP photo
about 1,200 x 1,200
76
Too small
Photo received on WhatsApp
about 1,080 wide
69
Too small
Photo saved from Instagram
1,080 x 1,080
69
Too small
Photo downloaded from Facebook
about 2,048 wide
130
Borderline
The pattern is clear. Photos taken on your own phone are almost always big enough. Photos that have travelled through an app almost never are. If the only copy you have came from somebody else, ask them to send the original by email or a shared album instead, because both keep the full file. Our guide to photo print resolution covers the pixel figures for other sizes, and there is a walkthrough on how to resize an image if you need to check what you have.
Step three: place the photo where the bag will not fight it
A tote bag is not a flat rectangle. It has handles stitched to the front panel, a hem across the top, a seam at the base, and it changes shape the moment anything goes inside. Four practical consequences follow.
The top 4cm is strap territory. The handles attach near the top edge and swing inward when the bag is carried. Anything you place there can sit partly behind a strap.
The bag folds roughly in half when empty. A single face placed dead centre lands on the fold line, which is where the fabric creases most in storage.
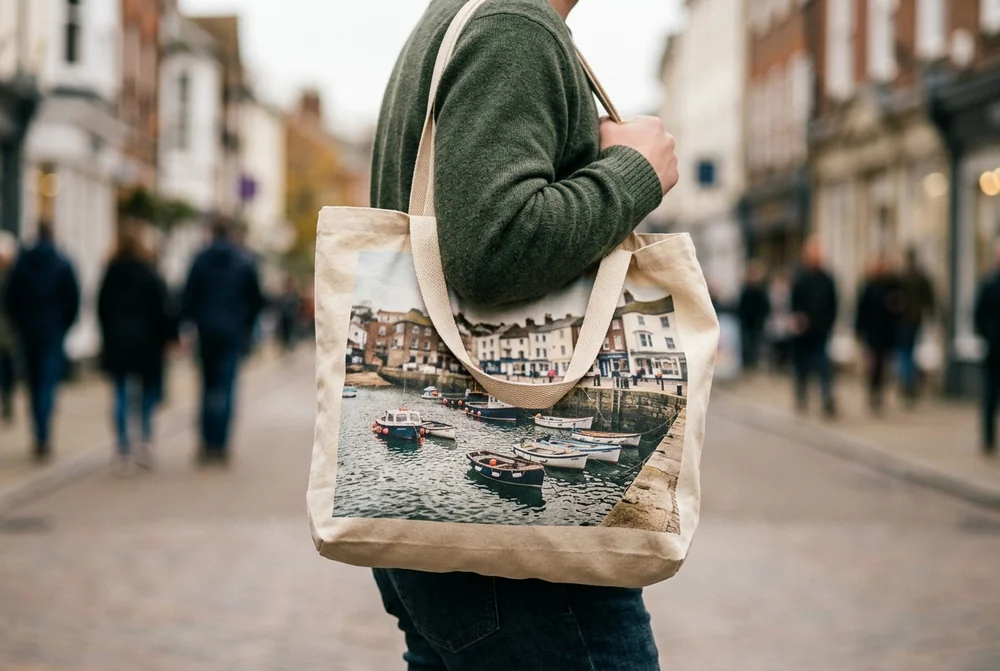
A full bag bulges outward and stretches the middle. Faces sit truest in the upper third of the panel, above the widest part of the bulge.
Horizons want to be level with the hem, not the photo. If your photo has a sea line or a skyline, line it up with the top hem rather than with the edge of the original crop.
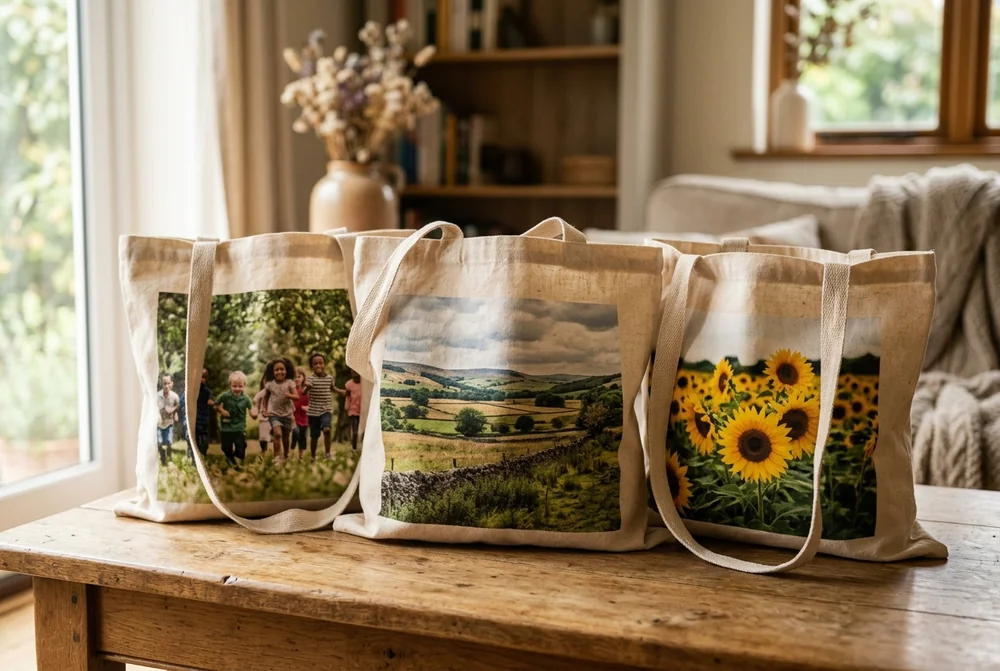
For how many photos to use, the arithmetic decides it. On a 40 x 40cm front, one photo gets the full 40cm. A two-by-two grid gives each photo about 20 x 20cm. A three-by-three grid drops each one to about 13 x 13cm, and at that size a face in a group shot stops reading from a few feet away. Four photos is the practical ceiling for a bag people will look at across a room.
Photo tote bag layouts compared
One photo, full bleed
One photo, bordered
Four-photo grid
Photo with a name
How it reads
Boldest, most like a print
Calmer, gallery-like
Story of a year or trip
Gift-obvious
Best photo type
Landscape, pet, single face
Busy photo needing breathing room
Four photos of similar brightness
One clear face or group
Minimum pixels
2,362 x 2,362
2,067 x 1,890
1,181 x 1,181 each
2,362 x 2,362
Main risk
Faces cropped at the edge
Border looks like a mistake if uneven
One weak photo drags the set down
Text too small or too near the hem
Best for
Yourself, or someone with one great photo
Art, travel and scenery
Teachers, leaving gifts, grandparents
Named gifts and events
There is no single best layout, only a best fit for the photo you have. One strong image belongs full bleed. Four decent images belong in a grid. A photo that is slightly soft belongs bordered, because shrinking it raises the effective DPI and buys back the sharpness. The same logic applies to personalised photo cushions and personalised photo blankets, where the fabric is different but the geometry problem is identical.
What a photo tote bag costs in the UK: a worked example
Take a common job: three bags as end-of-term gifts for teachers, each with a different class photo.
Service
Three bags
Notes
Snapfish
£22.47
£7.49 each while the offer runs; £45 at the £15 list price
MYPICTURE
£44.70
Free delivery starts at £49
Boots Photo
£74.97
Larger bag, prints both sides
CanvasChamp UK
£74.97
Bag size not published
Prices checked August 2026.
Snapfish is the cheapest option while its offer is live, and it is worth saying so plainly. At its £15 list price the position reverses and MYPICTURE is level or ahead. The MYPICTURE order has one quirk worth knowing: three bags come to £44.70, which sits just under the £49 free delivery threshold. A fourth bag takes the order to £59.60 and removes the delivery charge, so four bags often cost close to what three plus postage would.
What the extra buys over the budget end is print area and print process: a 40 x 40cm front covered edge to edge, on 12-colour printing, on a hand-sewn bag. For a bag carried daily for years, that is usually the part that matters more than the first invoice.
How to wash a printed tote bag without ruining the print
Four things wear a fabric print down: heat, friction, tumble drying and direct sunlight. Every rule below follows from one of them.
Turn the bag inside out first. Friction against the drum is what dulls a print, and turning it out puts the plain side against the metal instead.
Wash at 30°C on the shortest cycle that will do the job. The University of Leeds study measured up to 74% less dye release and up to 52% fewer microfibres shed from a 30-minute cool cycle than from an 85-minute 40°C one. The Energy Saving Trust puts the energy saving from dropping 40°C to 20°C at roughly 66% per load.
Skip fabric softener and anything containing bleach. Softener leaves a film that flattens colour, and bleach attacks the ink as readily as it attacks a stain.
Do not tumble dry. Heat and tumbling together are the fastest way to crack a print. Boots Photo publishes the same instruction for its own bag, which tells you it is a property of printed cotton rather than one brand's caution.
Dry flat and out of direct sun. Hanging a wet bag by its handles stretches the stitching, and UV fades ink whether the bag is wet or dry.
Iron on the reverse only. Keep the bag inside out, use a medium setting, and never put an iron directly on the printed side.
Spot clean small marks rather than washing the whole bag. Cool water, a little detergent, a soft cloth, and blot rather than rub. Fewer full washes is the single biggest thing you can do for the print.
A three-question test before you order
1. Is the shortest side of your photo at least 2,362 pixels? If yes, print it full bleed at 40 x 40cm. If no, use a border and print it smaller.
2. Is the photo on your own camera roll, or did somebody send it to you? Your own file is almost certainly large enough. A sent file almost certainly is not, so ask for the original.
3. Will the bag be carried full? If yes, put faces in the upper third of the panel, above where the fabric bulges.
Most people answer yes, own file, carried full — and for them a single photo across the whole front is the right choice. Anyone answering no to the first question should not force a full-bleed print. A bordered photo at 30 x 30cm on the same bag looks considered, while a stretched file just looks stretched.
Why choose MY-PICTURE.CO.UK over other competitors?
MYPICTURE competes on price and print quality rather than on premium positioning. The photo tote bag is £14.90 for a 40 x 40cm bag printed edge to edge with 12-colour printing, production is in Europe, and the Lowest Price Guarantee undercuts any like-for-like UK price by 5% — which effectively does the comparison shopping for you.
The table below covers three specific dimensions, not an overall verdict.
*Ratings and prices correct as of August 2026. Prices exclude delivery; all brands run periodic promotions.
Get the file right and the rest is straightforward. Check your shortest pixel side, keep the important part inside 35 x 32cm, and wash it cool. You can start on your own personalised tote bag in about five minutes.
Frequently asked questions
Can I put my photos on a tote bag?
Yes. UK photo services print your own photos directly onto cotton tote bags, and no craft skill or equipment is needed. You upload the image in an online designer, position it, and the bag is printed and sewn for you. A MYPICTURE photo tote bag is 40 x 40cm and costs £14.90, with the photo printed across the full front. The only real requirement is a file large enough for the print size.
How big should an image be on a tote bag?
For a 40 x 40cm print area, aim for at least 2,362 x 2,362 pixels. That works out to 150 pixels per inch at the finished size, which is the sensible floor for cotton because the weave hides finer detail. A standard 12 megapixel phone photo at 4,032 x 3,024 pixels clears this comfortably. Photos saved from Instagram or received on WhatsApp are usually about 1,080 pixels and will look soft.
How do you wash a printed tote bag?
Turn the bag inside out, wash it at 30°C on a short cycle, and skip fabric softener and bleach. Do not tumble dry it, and dry it flat rather than hanging it by the handles, which stretches the stitching. If you need to iron it, keep it inside out and iron the reverse only. Spot cleaning small marks instead of running a full wash will keep the print looking new for far longer.
How do I clean a canvas tote bag?
For light marks, blot with cool water and a little mild detergent on a soft cloth, working from the outside of the mark inwards, then let the bag air dry flat. For a full clean, wash it inside out at 30°C on a short cycle. Avoid scrubbing a printed area, because friction is what wears fabric prints down. Never use bleach or a stain remover containing bleach on a printed bag.
Can you print a photo on both sides of a tote bag?
Some services do and some do not, so it is worth checking before you design. Boots Photo and YourSurprise both offer double-sided printing. The MYPICTURE photo tote bag prints across the full front. If you want two different photos, either choose a double-sided bag or use a two-by-two grid on one side, which gives each photo about 20 x 20cm on a 40 x 40cm bag.
What are tote bags made of?
Most photo tote bags are cotton or cotton canvas, which takes a printed image well and stands up to regular use. Some are microfibre with a canvas look, and cheaper promotional bags use non-woven polypropylene, which does not print photographs as cleanly. Jute is also sold as a sturdier alternative. The MYPICTURE photo tote bag uses a hand-sewn, tear-resistant fabric printed with 12-colour printing.