How to Create a Wedding Photo Book: Design Ideas, Tips and Step-by-Step Guide
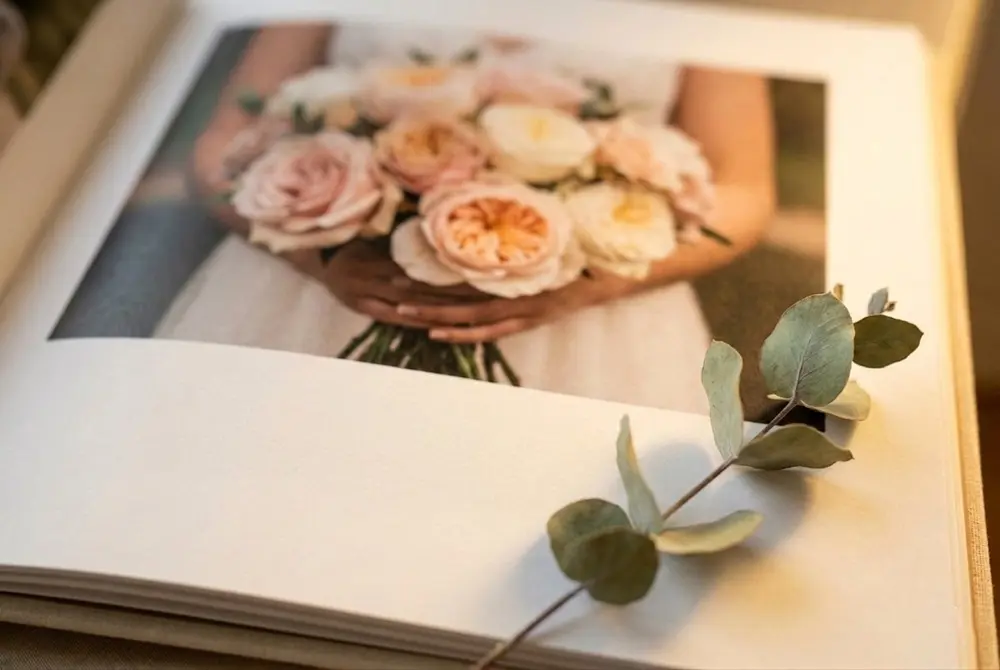
Your wedding day passes in a blur of nerves, laughter and dancing – and before you know it, the confetti has settled and all you have left are the photos. A wedding photo book is the best way to bring those images together into something you will actually pick up and look through for years to come, rather than leaving hundreds of files sitting forgotten on a hard drive.
Whether you want a sleek, modern album or a more hands-on scrapbook-style keepsake, designing your own wedding photo book gives you complete control over the story your pictures tell. From choosing the cover material and page layout to deciding which candid moments deserve a full-page spread, every detail is yours to shape.
This guide walks you through everything you need to know: how to plan your wedding album design, which formats and features to look for, creative ideas for every style, and a clear step-by-step process to get from a folder full of photos to a finished book you will treasure.
In this article:
- Why Create a Wedding Photo Book?
- Wedding Album Design – Planning Your Perfect Layout
- What Makes the Best Wedding Photo Books?
- Wedding Photo Book Ideas for Every Style
- Wedding Scrapbook Ideas to Personalise Your Album
- How to Create Your Wedding Photo Book Step by Step
- Choosing the Right Photos for Your Album
- Frequently Asked Questions
At a Glance: A wedding photo book typically contains 50–150 photos across 30–80 pages. The most popular formats are 30×30 cm square and A4 landscape. Choose a lay-flat binding so double-page spreads sit completely flat, pick a lustre or matte paper for fingerprint-resistant pages, and plan your layout chronologically – from getting ready through to the last dance. Most couples finish their album within three to six months of the wedding.
Why Create a Wedding Photo Book?
A printed photo book does something a screen never quite manages: it gives your wedding photos a physical presence. Turning real pages, seeing images printed at full size on quality paper, and sharing the book on a coffee table with friends and family creates a completely different emotional connection compared to scrolling through a phone gallery.
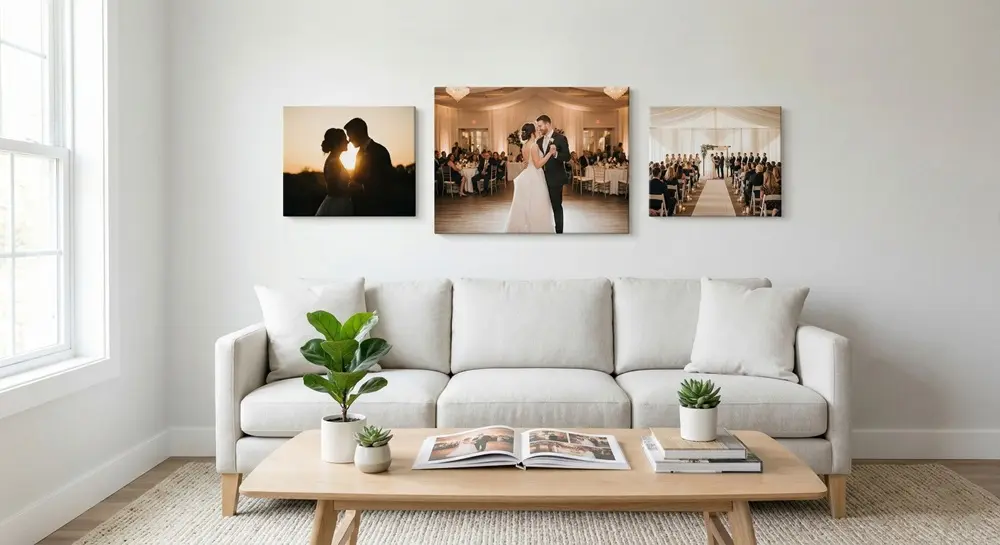
Beyond the sentimental value, a well-made wedding photo book also protects your images. Digital files can be lost to failed hard drives, corrupted memory cards or forgotten cloud subscriptions. A printed album is a permanent, tangible backup of your most important day – one that does not require a password or an internet connection to enjoy. Your two or three strongest shots can also live outside the album as canvas prints in the living room or bedroom, keeping those moments visible every day.
There is also a practical benefit to curating your photos into a book: it forces you to select the best images, arrange them into a narrative, and present them thoughtfully. The result is a far more satisfying way to revisit your wedding than endlessly scrolling through 800 unedited shots.
Wedding Album Design – Planning Your Perfect Layout
Good wedding album design starts long before you drag a single photo onto a page. Planning the structure first ensures your finished book tells a coherent story rather than feeling like a random collection of pretty pictures.
Choosing a Narrative Structure
The most natural approach is chronological: start with the morning preparations, move through the ceremony, then the group portraits, reception, speeches, first dance and evening party. This mirrors the way the day actually unfolded and gives readers a clear beginning, middle and end.
Alternatively, some couples prefer a thematic structure – grouping pages by emotion or setting rather than by time. For example, you might have a section for quiet, intimate moments, another for group celebrations, and a third for venue and detail shots. This works especially well if you had a multi-day event or photos from more than one location.
Essential Pages Every Album Needs
Regardless of your structure, certain pages anchor every good wedding album. Start with a title page showing your names and the date. Include at least one full-spread hero image from the ceremony and a dedicated section for group and family portraits. Add detail shots of the dress, rings, flowers and table settings to break up the portraits. End with a closing page – perhaps a candid shot from the end of the night or a short personal message. These anchor pages give your album a professional feel, even if you design it yourself.
Tip: Leave breathing room around your photos. Over-filling every page makes the design feel cluttered. A single stunning image on a white background often has more impact than six images squeezed together.
What Makes the Best Wedding Photo Books?
With so many options on the market, it helps to know what separates the best wedding photo books from an average one before you commit. The differences come down to binding, paper quality, cover material and print technology – and each choice affects how your album looks, feels and lasts.
| Feature | What to Look For | Why It Matters |
|---|---|---|
| Binding | Lay-flat (also called flush-mount) | Pages open completely flat, so panoramic photos span both pages without a gap in the centre |
| Paper | Lustre or matte finish, 200+ gsm | Resists fingerprints, reduces glare, and feels substantial when turning pages |
| Cover | Hardcover with linen, leather or photo wrap | Protects the pages and gives the album a premium, keepsake feel |
| Print quality | Digital offset or silver halide printing | Produces sharper detail and more accurate colours than standard inkjet |
| Size | 30×30 cm square or A4 landscape | Large enough to appreciate detail without being too bulky for a shelf or coffee table |
| Page count | At least 30 pages, extendable up to 80+ | Gives enough space to tell the full story without cramming |
When comparing providers, pay attention to the minimum and maximum page counts, available paper types, and whether lay-flat binding is included or costs extra. A lower headline price sometimes hides thinner paper or standard glue binding that cracks at the spine over time.
Wedding Photo Book Ideas for Every Style
No two weddings are the same, and your album should reflect the personality of your day. Here are some popular wedding photo book ideas to help you find a direction that feels right.
Classic and Timeless
Think clean white backgrounds, elegant serif fonts, and a symmetrical layout. Stick to one or two photos per page with generous margins. A linen or leather hardcover in a neutral tone – ivory, dove grey or navy – completes the look. This style suits traditional church weddings, black-tie receptions and anyone who wants their album to look as polished in twenty years as it does today.
Modern Minimalist
Strip everything back. Use full-bleed images with no borders, minimal text, and a matte black or concrete-grey cover. Let the photos do all the talking. This approach works particularly well for city weddings, industrial venues and couples with a strong editorial photography style. Alternate between single hero shots and clean two-photo grids to maintain visual rhythm.
Vintage and Rustic
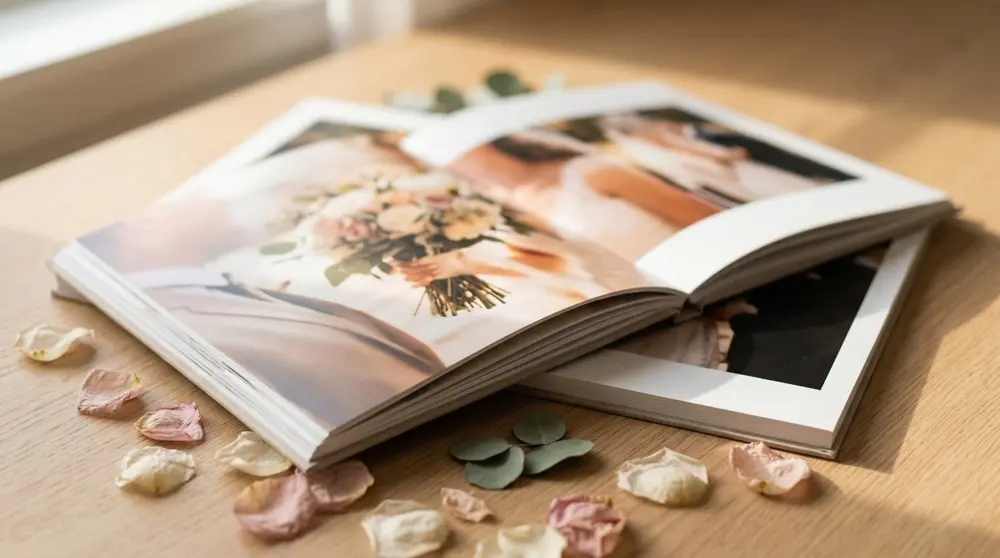
If your wedding featured wildflower bouquets, barn beams and handwritten place cards, lean into that warmth in your wedding album design. Warm-toned backgrounds (soft cream or kraft), slightly rounded photo edges, and handwritten-style fonts give the pages a cosy, scrapbook-adjacent feel without the mess of actual glue and scissors. A fabric or faux-leather cover in tan or blush ties the look together.
Tip: Mixing styles often weakens the overall impression. Pick one direction and commit to it across every page – consistency is what makes a photo book feel designed rather than assembled.
Wedding Scrapbook Ideas to Personalise Your Album
If a simple photo-only book feels too plain for your taste, borrowing elements from scrapbooking can add an extra layer of personality. Wedding scrapbook ideas do not have to mean messy craft projects – many can be incorporated digitally into a printed photo book for a clean, modern result.
Consider scanning flat mementos like your wedding invitation, order of service, menu card, table plan or confetti and placing them alongside your photos. Adding a handwritten note – scanned or photographed – on the opening or closing page gives the album an intimate, personal touch that typed text cannot match.
Other ideas include dedicating a page to your vows or a favourite reading from the ceremony, creating a small "guest quotes" page with messages people left in your guestbook, or including a timeline graphic that maps out the key moments of the day with times and short descriptions. These additions turn a photo book into a true memory book – something that captures not just how things looked, but how they felt. If you plan to give the album to parents or bridal party members, pairing it with a personalised photo card makes the gift even more thoughtful.
How to Create Your Wedding Photo Book Step by Step
Creating a wedding photo book is easier than it sounds. Follow these six steps and you will go from a chaotic folder of images to a finished album in a few evenings.
Step 1: Gather and organise your photos. Collect all images from your photographer, guests and your own phone or camera. Create folders for each part of the day: getting ready, ceremony, group shots, reception and candid moments. Delete any obvious duplicates or blurred shots at this stage.
Step 2: Choose your format and size. Decide between a lay-flat, hardcover or softcover book. A landscape A4 or 30×30 cm square format gives wedding photos plenty of room. If you plan to include panoramic ceremony shots, a landscape orientation usually works better.
Step 3: Plan your structure. Sketch a rough page plan before you start designing. Map out how many pages you want, which sections go where, and which images are your must-include hero shots. This avoids the common trap of putting all your best photos in the first ten pages and running out of strong material later.
Step 4: Design the layout. Alternate between full-page spreads for your strongest images and multi-photo grids for supporting shots. Keep the background colour and font style consistent throughout. Leave white space around photos – a crowded page rarely looks as good as a restrained one. If you prefer a faster route, the QuickBook uses AI to generate a layout from your uploaded photos in seconds – you can then fine-tune the result.
Step 5: Add personal touches. Include your names and wedding date on the cover or title page. Drop in a few short captions or a meaningful quote. If you like, scan flat keepsakes like your invitation or confetti to add as design elements.
Step 6: Review and order. Proof every single page. Check for cropped faces, duplicated images, typos and any photos that look soft at print size. Choose a premium paper finish – lustre or matte – and create your photo book. Most providers dispatch within one to two weeks.
Tip: Order two copies. Keep one pristine on a shelf and leave the other on the coffee table for guests to browse. Photo books get handled a lot, and having a backup means you never have to worry about sticky fingerprints or a spilt cup of tea.
Choosing the Right Photos for Your Wedding Album
Selecting which photos make the cut is often the hardest part. With hundreds – sometimes thousands – of images to choose from, it helps to have a system.
Start by flagging every photo you love on first instinct. Do not overthink it at this stage; just mark whatever catches your eye. Then go back and sort those favourites into the sections you planned earlier. You will quickly see where you have too many images (the reception, usually) and where you are short (detail shots and getting-ready moments tend to be under-represented).
Aim for variety: mix wide establishing shots of the venue with tight close-ups of hands, rings and flowers. Alternate between posed group photos and candid moments. Include at least a few images that are not of people – the cake, the table setting, the invitation, the venue exterior – to give context and pace to the visual story.
Finally, be ruthless. Five strong images on a page always look better than ten average ones. If two photos capture essentially the same moment, keep only the better one. Your album should feel curated, not comprehensive.
Frequently Asked Questions About Wedding Photo Books
-
A typical wedding photo book contains between 50 and 150 photos across 30 to 80 pages. The exact number depends on the size of your book and the layout you choose. A good rule of thumb is to select roughly two to four photos per page, mixing full-page hero shots with smaller detail images.
-
The most popular sizes for a wedding photo book are 30x30 cm (square) and A4 landscape. Square formats give a classic, balanced look, while landscape layouts suit wide ceremony or venue shots. Both sizes offer enough space to display your photos without feeling cramped.
-
Most couples create their wedding photo book within three to six months of the big day, once they have received the final edited images from their photographer. There is no deadline, but starting sooner means the memories and details are still fresh in your mind.
-
Yes. Adding short captions, the date, your names or a meaningful quote gives context and makes the album feel more personal. Keep text minimal so the photos remain the focus. Many couples include their vows or a short note on the opening or closing page.
-
Lustre and matte paper finishes are the most popular choices for wedding photo books. Lustre paper has a subtle sheen that enhances colour without strong reflections, while matte paper gives a soft, fine-art look. Both are fingerprint-resistant, making them ideal for an album that will be handled often.
-
A wedding photo book is digitally printed with photos integrated directly onto the pages, resulting in a clean, modern finish. A traditional album uses individually mounted prints slotted into sleeves or adhesive pages. Photo books tend to be more affordable and offer greater layout flexibility, while traditional albums have a classic, tactile feel.