Discover Photography
by Picanova
Have you recently decided that photography is the perfect hobby for you? And while sorting through your photos, have you noticed that many of them haven’t turned out that well? You could be making some typical beginners’ mistakes. There’s no reason to worry, though, because these mistakes can easily be avoided. Here we’ll show you the mistakes you need to cut out if you want to take some really amazing photos.
1. Relying on the camera’s functions too much
You’ve just purchased a brand-new mirror-reflex or system camera and you’re looking forward to taking some fantastic photos. However, when you return from your first photo safari, you discover that the pictures have turned out no better than the ones you used to take with your old camera. Sound familiar? Even the very best cameras have to be used correctly. You need to get to grips with things like aperture, focal length, and light sensitivity. Spend some time studying composition and structure, and learn how to deal with flash photography. Trying these things out is a lot of fun!
2. Always aiming for the middle
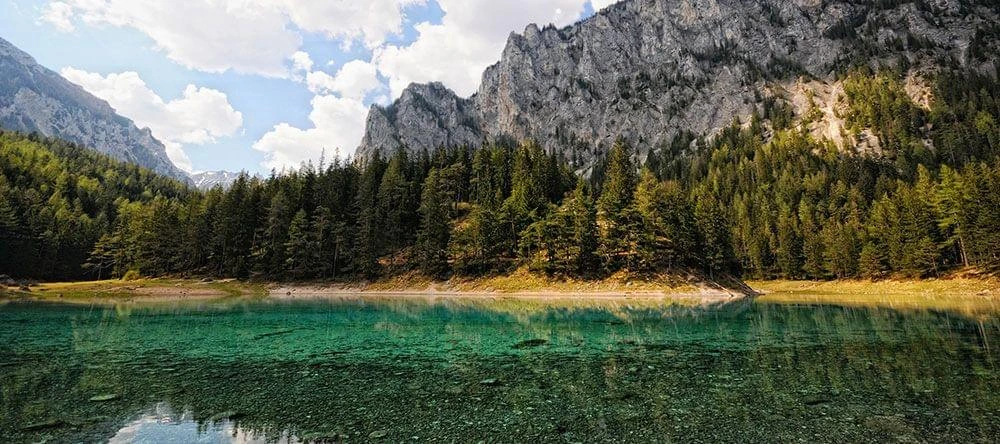
One of the most common mistakes is placing the horizon dead in the middle, so that the picture is cut into two halves. Looking at this kind of photo you never know which half you’re supposed to be looking at and what the main theme of the photo is. Landscape photos, for example, should follow the rule of composition by thirds, with the horizon placed along the edge of one of the thirds in the photo. This is how you tell the viewer what to focus on in the picture.

Even if both halves of a picture are lovely, you should never place the horizon in the middle
3. Not having the main subject in focus
Another common mistake is this: the main subject is not in focus. The whole point of composition is to create something interesting for the eye to look at, without disturbing the rest of the picture too much. One main subject is usually enough. If your subject is in the background, make sure that there's nothing in the foreground to divert attention from the central point of focus. You can get closer to the subject, zoom, or trim the photo later when you're finishing it off, so that the main subject is placed in the right position.
4. Making blurry photos
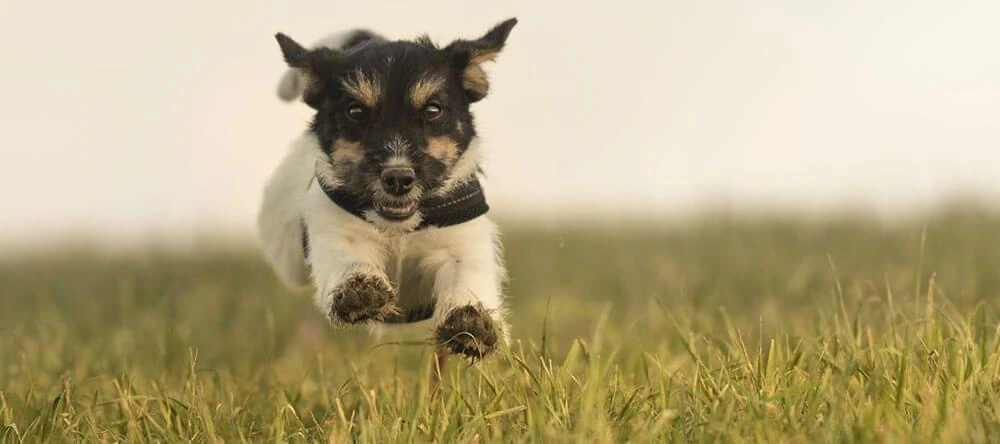
A photo that’s deliberately made to look blurry can have a lot of nostalgic charm. But the decision to make a photo sharp or blurry should be made by you alone, and not just left to chance. Here, too, the question of focus is all-important: for example, if you want to make a portrait, the part around the eyes should be sharp – because that’s where the focus should be placed. You can increase the sharpness by minimising the shutter speed, for example, and setting it higher in relation to the focal length. Higher light sensitivity can also help you to make razor-sharp photos, even during the daytime, when there are a lot of clouds in the sky. And if you want to be 100% safe, you can use a tripod.

In practice, it’s not all that easy – a perfectly sharp photo
5. Forgetting about the background
It’s especially important to think about the background when you’re taking a portrait photograph. Sometimes beginners concentrate too much on the main subject, and they forget that it’s embedded in a given setting. That’s why the subject of the portrait sometimes has branches growing out of her head, or a lamp-post sticking out of his skull. Pay attention to the background, and make sure that your perspective works with it. Walk around your model and find the best angle, so that you can make a harmonious photo-portrait.
6. Never switching perspective
Beginners tend to photograph everything from the same angle. They see an interesting subject, stand directly in front of it, and press the button. It’s better to try taking one step to the left or to the right. If you’re taking a landscape or architecture photo, you can concentrate on smaller details rather than trying to capture the whole picture – there are already millions of photos of Cologne Cathedral. If you’re taking photos of children, it’s a good idea to crouch down, because this will give you a more natural perspective. Just go ahead and lie on the ground, and gain a frog’s-eye view of the world!

Look at the world through different eyes – for example, try lying on the ground to take a photo from that angle
7. Being impatient
Do you wonder why so many of your photos are blurry? Very often the reason is that you haven’t given the camera enough time to get into focus. This can be a problem with informal snapshots especially. Even in conditions of low light, it can take some time for the camera to get into focus. If you’re using an automated programme, the camera also needs to calculate the correct light settings. No matter how spontaneous you want your photographs to be, you need to have a little bit of patience if you want to achieve good results.
8. Not checking the settings
If you’ve already switched off the automatic function then you should always check the settings before every new photograph to make sure that they’re suitable for the scene you now have in front of you. This is especially true if you haven’t used your camera for a while. Check the aperture, the light sensitivity setting and the shutter speed. You can’t take a night-time photo and then later take a daytime photo using the same settings.

Don’t forget that when the conditions change, you need to change your settings too
9. Selecting a low resolution
Choosing a low resolution has the advantage of giving you space for more photos on your memory card. Nevertheless, you should choose a higher resolution and make room by instead uploading your photos more often to your computer, an external disc, or the Cloud. This is because at low resolutions the quality of the photos suffers. If you try to print out larger photos, they’ll be grainy. Also, the quality will drop if you store your photos in .jpeg format. Then, when you want to edit the photos, or maybe crop one of them, you won’t be able to do it, because you’ll just make the photo more and more grainy.
10. Taking pictures from a very great distance away
Every photo that you take has a main subject or theme that you want to capture. If this subject is too small because you’ve been standing too far away, it won’t have the desired effect. Use the correct lens to zoom in more closely, or move up closer to your subject. Sometimes this will mean a bit of a walk, but it will certainly be worth it. If that’s not possible, you can bring the subject closer through the editing process. However, if you want to do this, the photograph should be taken with the highest possible resolution, so that the quality of the image will still be high.

It can be very helpful to take a few steps closer to your subject
11. Relying on sharp contrasts
A photo with contrasts that are too sharp reveals itself in huge differences between the highlights and the shadows. This effect is likely to occur on bright, sunny days, and it can mean losing part of your picture. If you want to avoid having contrasts that are too sharp, try using flash to brighten up the darker areas. Alternatively, you can choose a lower light sensitivity setting, and underexpose your photo slightly. Take several photos and experiment with these techniques to see what produces the best results.
And finally, when you've finished your next photo expedition, you can select your favourite subjects and then have them made into photo canvas prints with My-Picture.co.uk!